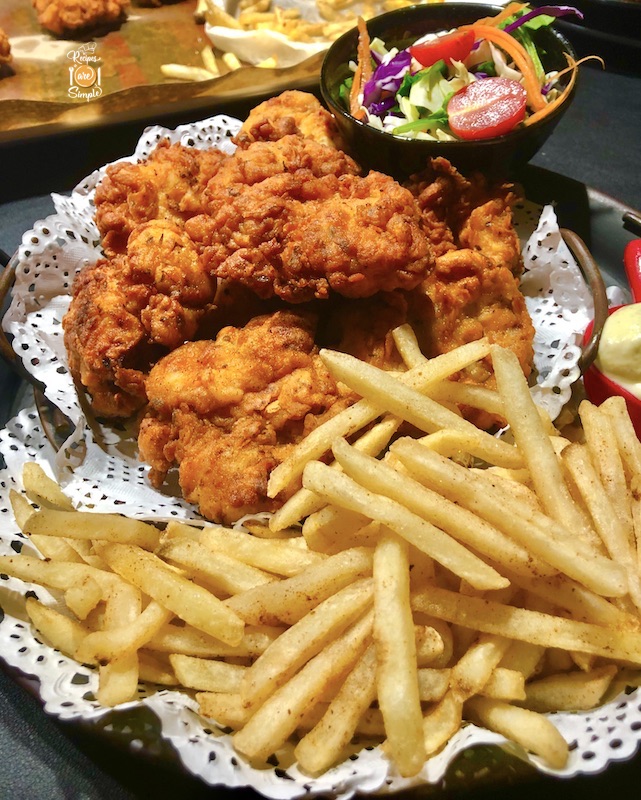
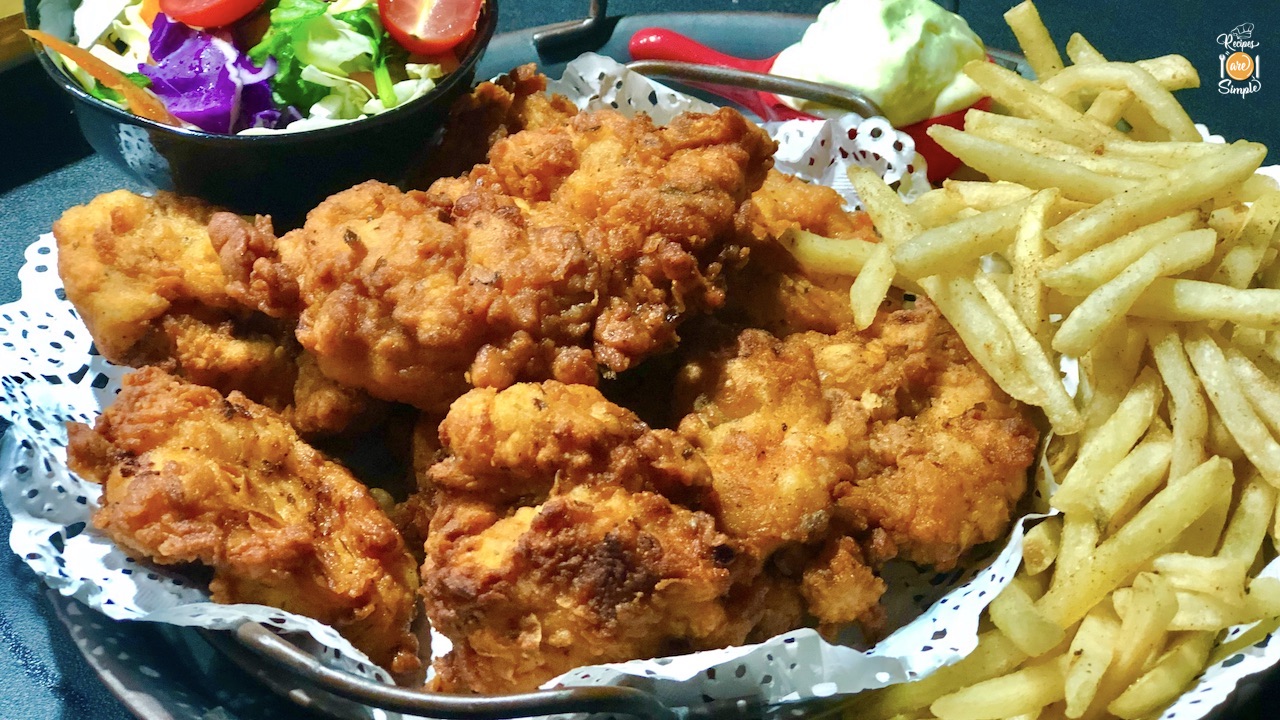
Zinger is a name synonymous with the best crunchy, crispy coating for fried chicken. Here is RAS’s very own version of super yummy Crispy Crunchy Zinger Fried Chicken! So crisp on the outside while being tender and bursting with flavour on the inside!

Crispy Crunchy Zinger Fried Chicken
® This is a RAS signature Recipe©
♦Prep time:
A detailed introduction, and related links are available on the
Recipe Intro ↓ : Check it out or scroll down for the Recipe and Video⇓.

EAT AND TELL!!! Let us know if you tried– Crispy Crunchy Zinger Fried Chicken
| ♦Mail me your pics and testimonials 🙂 – recipesaresimple@gmail.com ♦If you make the dish and share it on your social media, please don‘t forget to tag me @recipesaresimple and hashtag it #recipesaresimple on any platform. ♥Please rate the recipe if you have tried it below ↓♦Quick Browse to see All Recipes by Category.♦World Cuisines to browse recipes by Country. ♥Thanks for visiting www.recipesaresimple.com |
Crispy Crunchy Zinger Fried Chicken
Description
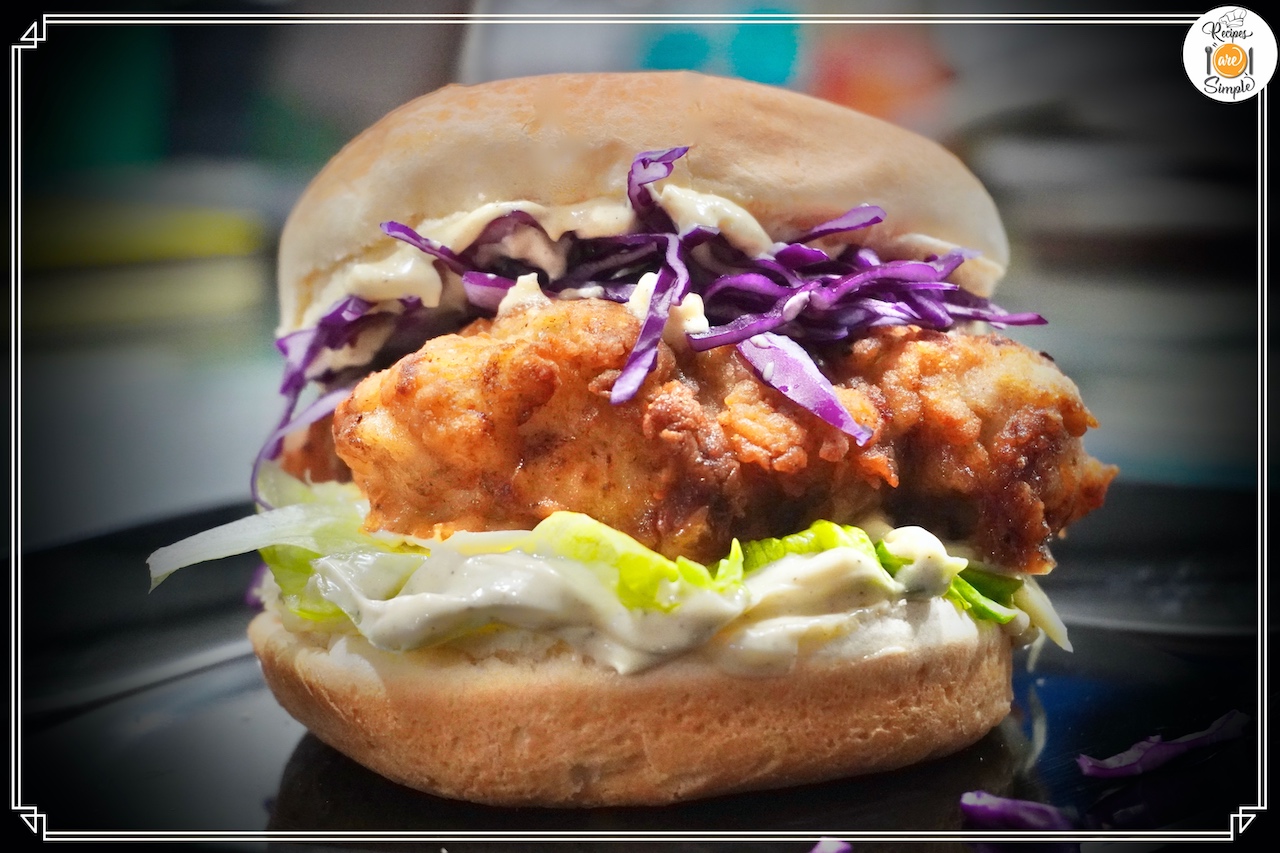
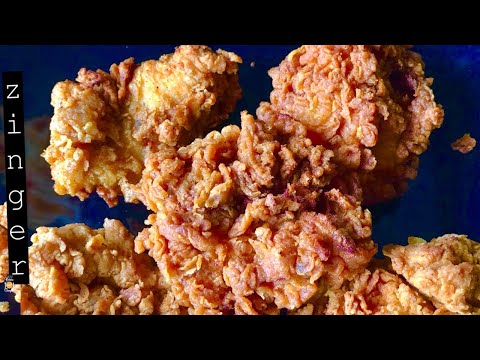
Zinger Fried Chicken is the gold standard of spicy poultry, famous for its signature "shattered-glass" crunch and fiery kick. The secret lies in a double-dredging technique that creates a thick, jagged, and ultra-crispy crust, hiding a heart of succulent chicken that has been marinated to tender perfection in a spice-infused buttermilk brine. Every bite delivers a satisfying explosion of textures—from the nubbly, golden-brown exterior to the steaming, juicy meat inside. Whether tucked into a toasted sesame bun with cool mayo and crisp lettuce or enjoyed on its own, this is the ultimate comfort food for those who crave a bold, peppery heat that lingers just long enough to keep you coming back for more.
Ingredients:
Buttermilk Marinade
Instructions
-
Rinse the chicken boneless chicken pieces and drain thoroughly, OR pat dry with paper towels. For the boneless leg-thigh portions, trim off any of the yellowish excess fat as well as dark chunks of meat on the bottom side. Then cut the pieces into approximately even-sized, "squarish" pieces.
-
Marinate: In a wide bowl, use a whisk to combine the buttermilk(3cups) with, garlic powder(1tsp), mild chilli powder(1tsp), paprika(1tsp), black pepper powder(1tsp), ground Cumin(1/2tsp), Ground Cinnamon(1/8tsp), hot sauce/ Tabasco sauce(2tsp) and salt(1 1/4tsp).
-
Add the chicken pieces, turn to coat well, then cover and refrigerate for at least 4 hours. Marinate overnight or up to 24 hours if possible, as this will give you super tender fried chicken that bursts with flavour! Remove the chicken from the fridge 30 minutes before frying.
-
Dry Mix: Into a separate, wide, shallow bowl, measure out and SIFT the flour(4cups). Don't skip the sifting! It helps to ensure the Zinger-style crunchy coating!
-
Season the flour by adding mild chilli powder(2tsp), garlic powder(2tsp), onion powder(2tsp), black pepper powder(1tsp), Tarragon-Parley Thyme mix(2Tbsp) and salt(1 1/4- 1 1/2tsp).
-
Use a whisk to mix in the herbs and spices well.
-
Remove the marinated chicken pieces from the batter and place them on a large wire rack over a tray.
-
Remove all but 1 1/4 cups of the batter used for marinating from the bowl and set aside, just in case you may need it.
-
Add the egg to this 1 1/4 cup batter in the bowl and mix well. Set aside.
-
Double dip-coating: Take all the marinated chicken pieces (one by one) from the wire rack, and dip them into the prepared flour mixture, till well coated. Return them all to the wire rack as you coat them.
-
Then, dip all these flour-coated chicken pieces back into the buttermilk-egg mixture, followed by a second coating of seasoned flour. Place them all back onto the wire rack this way.
-
Allow the dredged chicken to sit and dry out a bit while you heat up the oil- 'only 5 minutes or so' ..this helps the coating to stay intact, better, during frying. This short resting period helps to get a crunchier texture, as the buttermilk layer soaks up the flour layer a bit.
-
Time to fry: Heat oil for deep frying in a deep and wide wok or skillet.
-
Carefully add the chicken pieces, one by one. Do not crowd the pan - or the temperature will plummet (causes soggy chicken).
-
Fry undisturbed for about 2 minutes, making sure that the oil continues to bubble around the chicken at a constant moderate heat. (It should stay at about 170ºC). After 2 minutes, the crust should be strong enough to move gently.
-
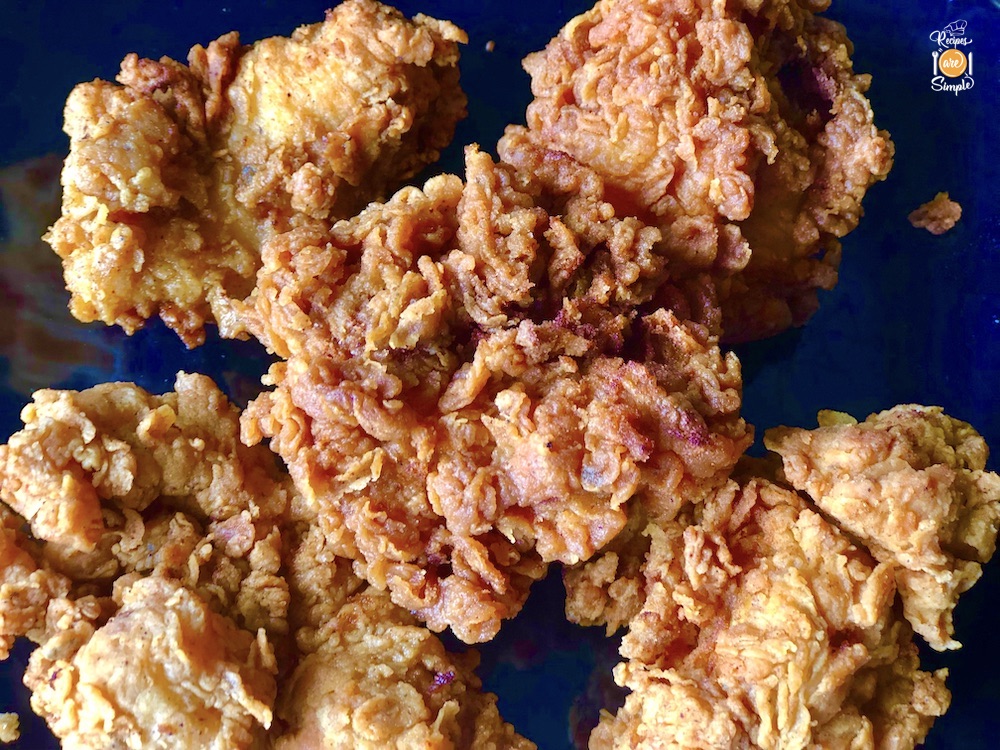
Flip the pieces over, then fry for another 2-3 mins until deep-golden and crisp on both sides. You can flip the pieces over once or twice more. The turning will produce a golden-crisp skin with even colour without becoming too dark.
-
Lift the chicken pieces out and transfer them to a tray lined with kitchen paper to drain. Do not put the hot fried chicken directly in a large bowl or container; the air can not circulate, and the steam will cause the crust to fall off or soften.
-
Serve hot with fries and coke or use this to make yourself a Zinger-style Chicken Burger.
Note
- Although boneless breasts may be used for this recipe, boneless thighs usually give better results. However, the chicken must be very fresh, and the fat must be trimmed for best best-tasting fried chicken. For Bone-in fried chicken, we often leave the skin on; however here for the boneless, I recommend removing the skin to clean the chicken better.
- Buttermilk can be made at home. Pour 1 Tbsp of vinegar into the measuring cup and then fill the rest of the measuring cup with milk till the one cup mark. Then gently stir the mixture and let it sit for about 5 minutes. I recommend using thick buttermilk. You can also substitute with mildly sour thick yoghurt that has been whipped well. I often make buttermilk using a Kefir Probiotic starter at home. It works really well and gives nice thick buttermilk!
- Self-raising flour can be made at home. Add 2 tsp of baking powder for each 1 cup of plain flour (150g/6oz/). Then, sift the flour and baking powder together into a bowl to ensure that the baking powder is thoroughly distributed.
- Don't skip the sifting process for the flour. It always gives a better crust.
- I have tested several combinations of dried mixed herbs for fried chicken. This combination of Tarragon, Parsley and Thyme works best for Zinger-style Crispy Chicken. Do not use more thyme or use stronger herbs like Oregano or Italian mixed herbs. It's a different flavour altogether.
- Key Ingredients: Boneless Chicken, Buttermilk, Flour, Oil, Egg, Salt, Herbs and Spices.