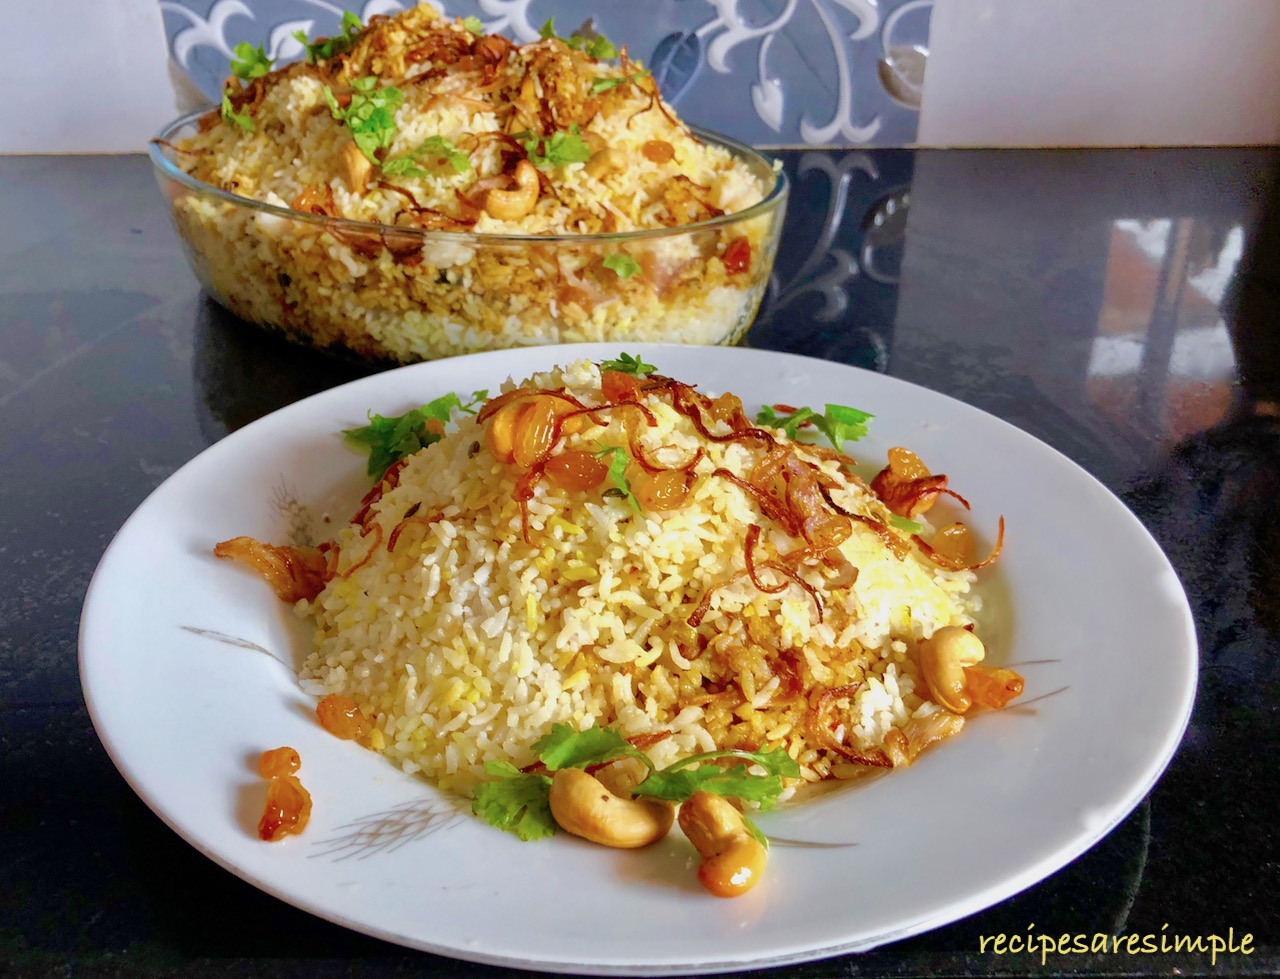
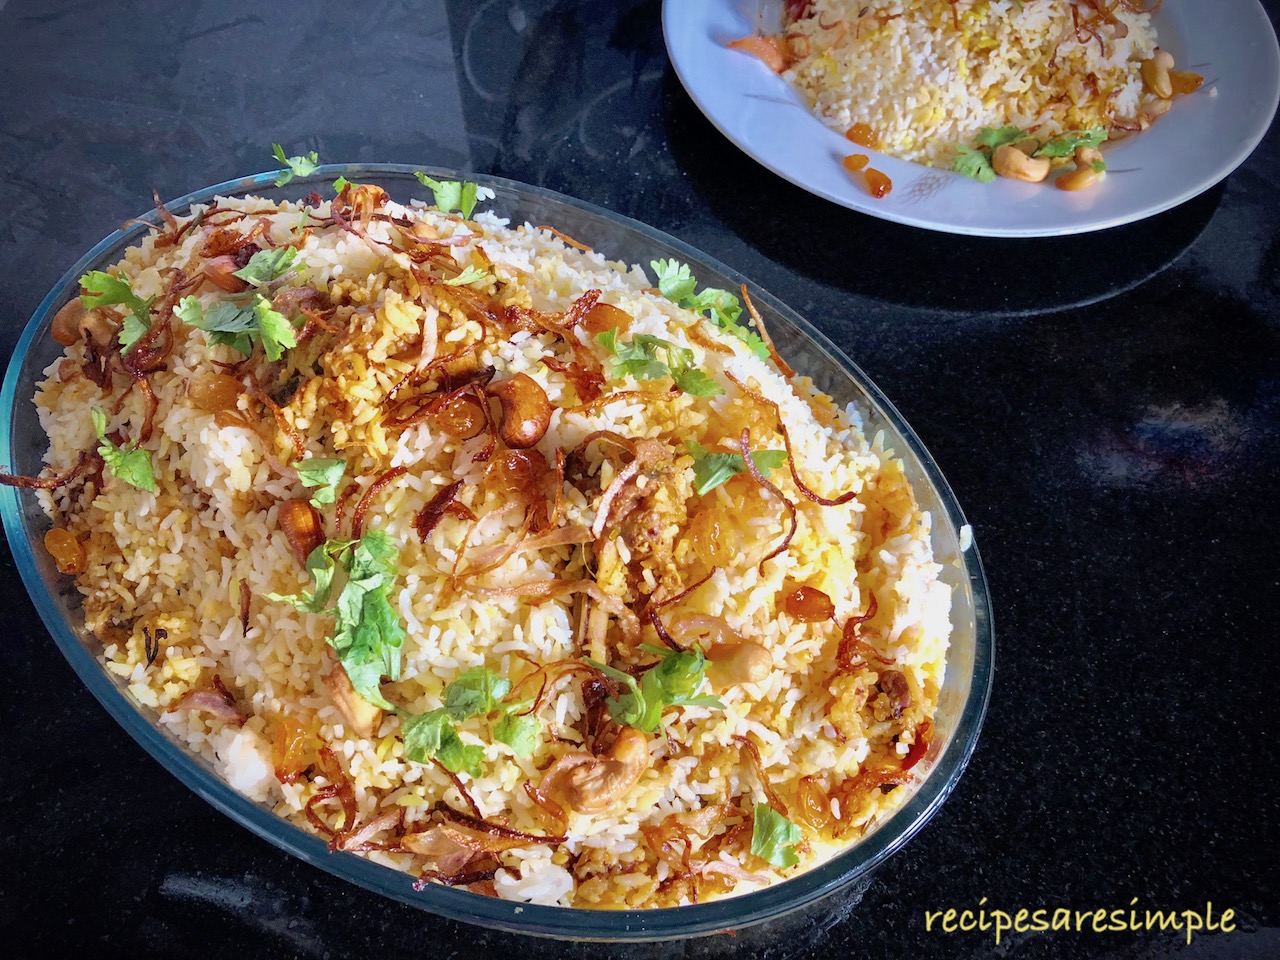
Mutton Biryani made in the most elegant manner – true blue Thalassery style!
Thalassery Mutton Dum Biryani

® This is a RAS signature Recipe©
Please read through the entire recipe for Thalassery Mutton Dum Biryani before you begin.
Do not let the number of ingredients deter you. They are mostly spices and are repeated in the different sections of List of Ingredients.
If you are sharing this recipe on your blog/page, kindly share the link to this page, instead of cut/copy etc.. All recipes are copyrighted material.
An introduction, and related links
available on the Intro page ⇓. Check it out or scroll down for the recipe ⇓.
|
♦DID YOU TRY – Thalassery Mutton Biryani? Please comment below. ♦You can also – Mail me your pics and testimonials 🙂 @ recipesaresimple@gmail.com ♦on SOCIAL MEDIA tag me @recipesaresimple and hashtag it #recipesaresimple on any platform. Thank you so much! ♥ |
♦Quick Browse to see All Recipes by Category. ♦World Cuisines to browse recipes by Regional Cuisine.
♥Thanks for visiting www.recipesaresimple.com

Thalassery Mutton Dum Biryani
Description
Mutton Biryani made in the most elegant manner – true blue Thalassery style!
Please read through the entire recipe for Thalassery Mutton Dum Biryani before you begin.
Do not let the number of ingredients deter you. They are mostly spices and are repeated in the different sections of the List of Ingredients.
Ingredients:
For the Rice:
For the Special Thalassery Mutton Biriyani Masala Powder:
Instructions
For Mutton Masala:
-
Clean and rinse the mutton pieces. Rub with salt. Rinse again and keep drained.
-
Place the Kasa kasa (white poppy seeds) a small bowl or mortar. Cover with 2-3 Tbsp boiled(hot) water. Leave to soften. Do this first, as it takes time to soften properly.
Prep Work:
-
Meanwhile, we will prepare our fried onions: as well as the special Biriyani masala powder. Also, chop and crush/ slice the fresh ingredients needed.
-
Slice onions very finely. For best results, use a mandoline slicer – we need the onions sliced as finely as possible.
-
Crush the ginger, garlic and green chillies to a paste – using a pestle and mortar for best results. Slice the tomatoes also.
Preparing the Bista:
-
Heat oil or ghee for frying the finely sliced onions in a deep wok. When hot, add the finely sliced onions ( in batches) and fry for around 8 minutes, stirring occasionally so that the slices stay separate. It may seem at first that the onions take some time to change colour, but as soon as they start changing colour, they will burn quickly so keep a close watch. Strain and keep aside in a metal spider strainer. This is better than using a kitchen paper towel to keep the onions crisp. Make sure to spread them out till they cool off. These fried onions are called ‘Bista’.
Marinate the Mutton:
-
Add the thoroughly drained mutton to a large bowl. To this, add the crushed garlic, ginger and green chillies. Rub well into the mutton along with 2 tsp salt.
-
Set aside about 1 cup of the fried golden onions for the garnish. Take the remaining crisp onions and lightly crush this (Bista) and add to the marinade.
-
Pound the Kasa kasa, that has been soaked all along to a paste and add this as well. Also add the sliced tomato, turmeric powder, black pepper powder, yoghurt and ghee. Now get in there with your hands.. and rub all the above marinade ingredients into the Mutton. Rub for a good 5- 10 minutes, to help release all the juices and flavours of the crushed ingredients. Now, cover and leave for at least 30 minutes at room temperature. If you marinate overnight, make sure to bring the mutton back to room temperature before cooking.
-
You can rinse and soak the rice during this time.
-
Once the mutton has marinated for the required amount of time, add the mutton ( at room temperature) to a large cooking pot with a tight lid. (The pot should be large enough to contain the mutton masala as well as the cooked rice together).
-
Add the (2 cups) boiled hot water and bring to a simmer after stirring. Now, reduce the heat to low and cook a low flame, covered for 45-50 minutes. Do not pressure cook the mutton. For the best flavour, the marinated mutton should be cooked ‘slow and low’, with a tightly fitted lid.
-
After this time, the mutton should be just tender enough to eat, but still have some cooking time to go. It will cook further in the dum process, so do not overcook it now, or it will fall apart at the time of serving.
-
Open the lid, and stir in the coconut milk, fried golden minced garlic*, 1/2 tsp black pepper powder as well as the ground Thalassery Mutton Biryani Masala Powder*,
-
Also add the chopped fresh mint and coriander, reserving a little of each for the final garnish. Stir through.
-
Taste and add regular salt at this stage to adjust to taste. Lastly, sprinkle a little more of our fried onion over the top of the masala.
For the RICE:
-
Rinse the Rice 4-5 times gently till the water runs clear. Then cover with fresh water and soak for 10 minutes only. Set the timer.
-
During this time you can fry the cashew and kismis for garnish. In the same oil/wok used for frying the onions earlier, fry the cashews till golden and golden raisins(kismis) till puffed. Drain and set aside on kitchen paper.
-
(Discard all but 2 Tbsp of the oil used for frying the onion, cashew and kismis, and in this oil, fry 1 Tbsp minced garlic for the Mutton Masala. Fry till golden and crisp but not dark. Set this fried golden minced garlic*aside for the Masala later).
-
Once the rice has soaked for ten minutes, drain the rice and leave it in the colander for a while. (Meanwhile, prepare the Biryani Masala Powder).
-
You will need a separate pot with a tight-fitting lid to cook the rice. To this, add the ghee ( 5 Tbsp) and heat.
-
Add all the whole spices for the rice and allow to become fragrant. Also, add the minced garlic clove.
-
Before the garlic, becomes brown, add the thoroughly drained rice. Fry the rice lightly till all the grains turn nice and glossy and you start to get the lovely aroma of the ‘kaima’ rice.
-
Add the preboiled water (7 1/2 cups). Also, add the salt crystals (4 1/2 tsp). Sir well, once. Reduce heat to a minimum. Cover tightly.
-
After 10 minutes, the rice should be done perfectly. Listen to the sound of the pot… You will know when the water on the bottom is starting to dry up. Don’t stir many times, in between the cooking process.
-
As soon as the rice is cooked, fluff it up from the bottom with a wide ladle or fork to just release the steam and prevent overcooking of the rice. Do not stir harshly while the rice is so hot. Also, add 2 Tbsp fresh ghee at the time. The ‘raw ghee’ boosts the flavour and aroma of the ghee rice, so do not skip this step.
-
Set aside till the mutton is cooked.
For the Special Thalassery Mutton Biriyani Masala Powder*:
-
Add all the whole spices except the chilli powder and turmeric powder to a dry pan. Toast on medium heat, stirring till the spices smell aromatic and are crackling well. 2 -3 minutes should be sufficient.
-
When the spices smell toasted as well, remove from heat. Makes sure the spices do not burn in the least.
-
Add the toasted spices to the small mixer jar. Add the chilli powder and turmeric powder now while the spices are still hot.
-
Grind to a fine powder. Set aside.
On to the ‘DUM’ – sealed cooking method for Thalassery Mutton Biriyani – Dum Biryani:
Now we will cook the prepared mutton masala and the rice together in a sealed, steaming environment.
Here, we use the large pot used for cooking the mutton, to continue with the ‘Dum’.
-
Add the rice over the masala in the pot. Fluff up the cooked rice as you add it over the Masala Layer. Do not pack too tightly. Making sure the rice is thoroughly fluffed up, to begin with ( no lumps ).
-
Just smooth the top surface, once all the rice is added.
-
Mix the rose water with the turmeric and set aside and pour all over the rice.
-
Cover the pot with a tight lid.
-
Mould the kneaded wheat flour dough into a thick rope. Press all around the rim of the pot and quickly press down with the lid to seal. make sure there are no gaps where dough does not seal the thin gap between the pot and lid.
-
Place an old flat pan/ Tawa on the stove on high flame and heat it till it gets very hot.
-
Place the pot over the old flat pan/ Tawa on a low-medium flame and cook on this indirect heat for 15-20 minutes.
-
If you are able to do so, place live hot coals over the lid during the dum process.
-
Allow to rest for 10 minutes and later cut open through the hardened dough and open the lid.
-
Fluff up the rice on top without touching the masala below.
-
Remove the rice to another wide-mouthed pot / urulli and scoop out the masala and place on the side of the rice.
-
For each plate, serve with masala and rice to desired proportions and sprinkle some of the garnish items for the finishing touch.
-
Serve with salad and pickle. Enjoy!
-
Do let us know if you tried it. We love to hear from you.
-
Note
- 1 cup = 240 ml measure
- For best results, finely slice the tomato instead of chopping them roughly.
- Mutton cooking should not be rushed using a pressure cooker. In order to achieve the authentic flavour of the Mutton Biryani in all its ‘essence’ please slow cook the Mutton as in this recipe.
- For the fried onion garnish, very thinly sliced onions must be used. It is advisable to use a mandolin slicer.
- Sliced shallots can also be fried for the garnish.
- The fresh herbs used in the biryani(mint and coriander) must be exceptionally fresh – especially mint – if your mint is not really fresh omit it. Using wilted mint will ruin the biryani.
- If we were to double or triple this recipe, the layering of the dum should be in several layers. ie. a layer of masala, followed by a layer of rice and repeat 2 or 3 times. For the quantity in this recipe, multiple layers are not required. However, it is good to layer some spice, coriander leaves, ghee and rosewater solution in between first and second layers of the rice.
- Key Ingredients: Mutton, Rice, Onion, Garlic, Ginger, Green Chili, Yoghurt, Mint, Coriander, Vanaspati, Ghee, Oil, Cashewnuts, Raisins, Spices, Salt.


Loved it
Thank you Naufara.. 🙂
Hi, I’m from Indonesia and my husband is from Kerala.. I tried this recipe, and he loves it. Best Briyani ever. Thank you for the recipe. I can’t wait to try all your recipe.
Hi Teti,
Wonderful to meet you! I have lots of Kerala recipes as well as Middle Eastern, Western and Asian recipes.. I live in Singapore. Hope to see you more.