
A perfect Malabar Meal – demystified.
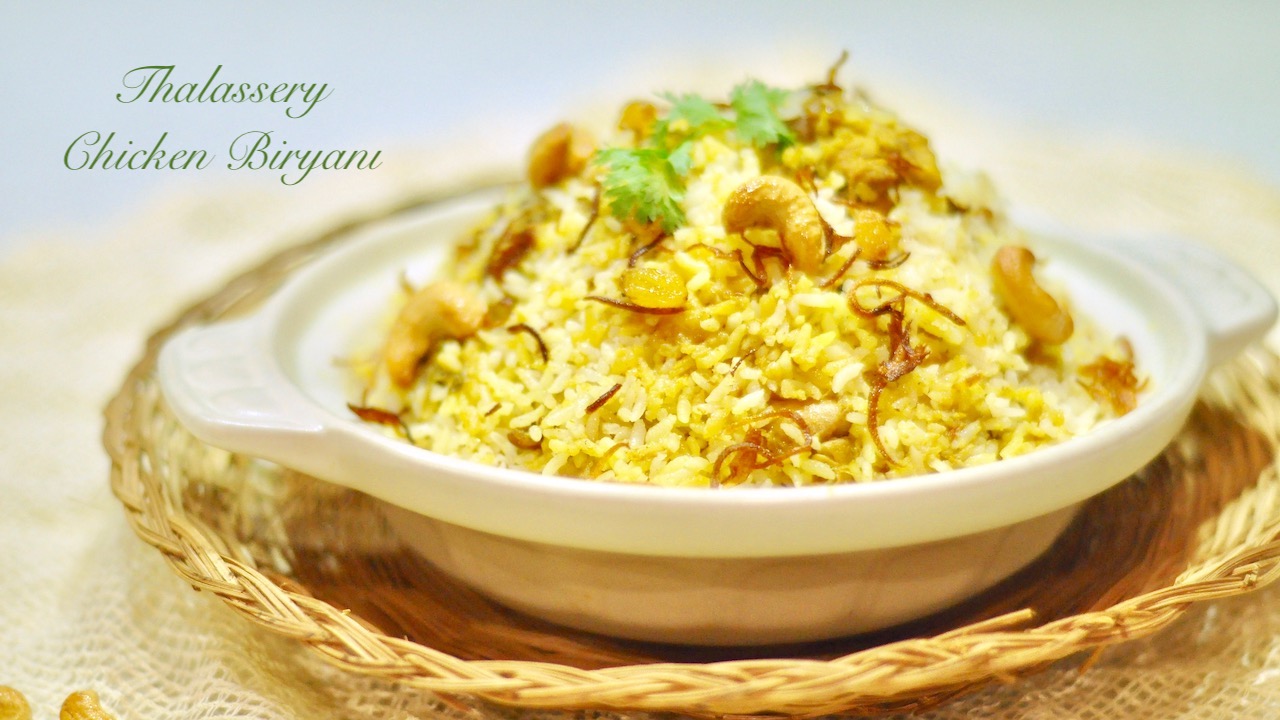
Thalassery Chicken Biryani with Marinated Chicken
® This is a RAS signature Recipe©
Please read through the entire recipe before you begin. Do not let the number of ingredients deter you. They are mostly spices and are repeated in the different sections of the List of Ingredients..
A detailed introduction, and related links
available on the Intro page ⇓. Check it out or scroll down for the recipe ⇓.

EAT AND TELL!!! Let us know if you tried – Thalassery Chicken Biryani with Marinated Chicken
| ♦Mail me your pics and testimonials 🙂 – recipesaresimple@gmail.com ♦If you make the dish and share it on your social media please don‘t forget to tag me @recipesaresimple and hashtag it #recipesaresimple on any platform. ♥Please rate the recipe if you have tried it below ↓♦Quick Browse to see All Recipes by Category.♦World Cuisines to browse recipes by Country ♥Thanks for visiting www.recipesaresimple.com |
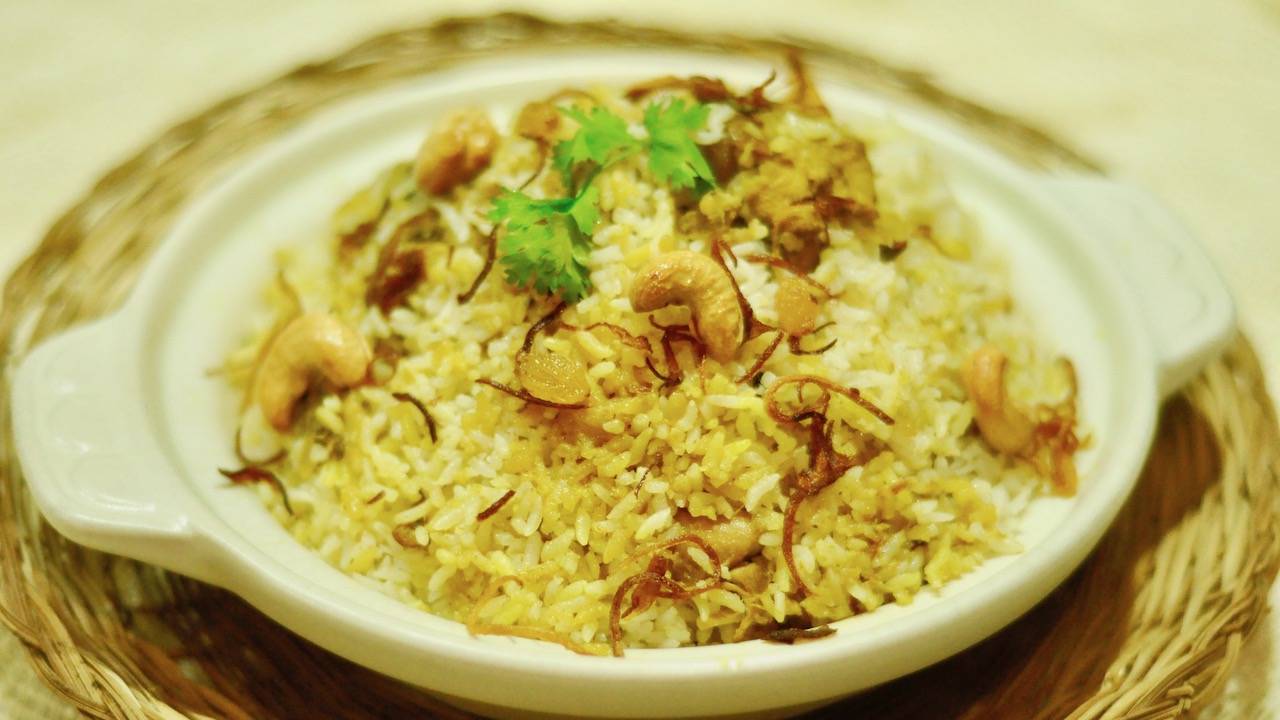
Thalassery Chicken Biryani ( with Marinated Chicken )
Description
In this version of Authentic Thalassery Biryani, the chicken is marinated in a mixture of yogurt, and other spices. The marination tenderizes the chicken and infuses it with flavor. This ensures that the chicken packs more flavor than for the traditional style of cooking where raw chicken is added to the masala whilst cooking.
Ingredients:
First Marination (20 min)
Second Marination (at least 30 min)
For Rice:
Instructions
Order of Prep:
-
Add the cleaned, thoroughly rinsed chicken pieces to a colander and allow to drain away all the water before marinating. (See notes)
-
Add the chicken directly to the pot used for cooking the Biryani ( large enough to contain the chicken masala as well as the cooked rice). We can marinate the chicken in this. Use a separate bowl or container to marinate the chicken only if you plan on marinating the chicken ( after the second marination ) for a longer period.
-
Apply the ingredients for the first marination. While it marinates, fry the Onions and prepare the ingredients for the Second Marination. Read the steps below.
First Marination (20 minutes):
-
Lightly dry roast the Kasa Kasa and Fennel Seeds for the first marination. No darkening, just a light toast.. then grind these two together, to get a fine powder.
-
Use a stone to pound the ginger, garlic, and green chillies for the ' First Marination '. The use of stone provides the best flavor and end result. If you don't have a stone grinder/pestle and mortar, use a chopper/grinder instead.
-
Once these ingredients are pounded to a paste, add the powdered fennel-poppy spice mix and pound it all together, to make a nice paste - as smooth as possible.
-
Add the drained chicken to a bowl, along with the prepared pounded ingredients. Also, add salt ( 1 tsp) and set aside for the first marination of 20 minutes.
For the fried garnish:
-
Use a mandoline slicer to finely slice the onions. They should be paper thin, to fry them up crisp and proper. When you get the edge of the onion ( to keep your fingers safe), set it aside to be chopped as we need half a cup of chopped onions for the 2nd Marination.
-
Add the sunflower oil and 5 Tbsp ghee to a small pan or wok, to fry the onions.
-
As the oil gets hot, add the finely sliced onions and fry for around 8 minutes, stirring occasionally so that the slices stay separate. It may seem at first that the onions take some time to change color, but as soon as they start changing color, they will burn quickly so keep a close watch.
-
Strain and keep aside in a metal spider strainer. This is better than using a kitchen paper towel to keep the onions crisp.
-
These fried onions are called Bista. Use half of this fried onion to make the 'crushed BISTA' - see the method for 'Second Marination'.
-
After using this oil in ALL the steps mentioned below, fry the cashew nuts till golden and golden raisins till puffed. Drain and set aside for the final Biryani Garnish.
Second Marination (at least 30 minutes):
-
Take half the amount of the fried onions once they have crisped up. Crush them up and add this 'Bista' to the previously marinated chicken.
-
Chop up a half cup of the onion ends that are left over from finely slicing the onions for frying and add this as well.
-
Also, add 3 large spoonfuls of the oil used for frying the onions to the chicken.
-
Next, add yogurt, mint, coriander, tomato, turmeric powder, coriander powder, and whole spices ( mace, star anise, cloves, and bruised cardamom ).
-
Separately add the black peppercorns, shahi jeera, cumin seeds, and nutmeg to the mortar and crush these coarsely. Dry roast them before crushing them for better flavor. Add these coarsely crushed spices to the chicken also.
-
Now, using your hands, massage the ingredients into the chicken once again thoroughly. Really get the juices and aromas flowing by squeezing them as you massage the chicken. It helps to penetrate the chicken with all these delicious fresh ingredients and spices.
-
Set aside for the second marination of at least 30 minutes. If you are setting it aside for a long period, please refrigerate it and bring it back to room temperature, before cooking.
For the RICE:
-
Before you start cooking the chicken masala: Rinse the Biryani Rice: Scrub the grains gently but thoroughly. Rinse again thoroughly 3-5 times till the water runs clear. Soak this rice for 10 minutes NO MORE.
-
Keep drained for a while to make sure the water is thoroughly removed.
-
While the Chicken Masala is being cooked, we can start preparing the rice.
-
Heat the ghee for the Rice in a pot with a tight lid.
-
Add the minced garlic and allow to turn fragrant. Next, add the whole spices and allow to crackle. Also, add the coriander leaves.
-
Add the drained rice and stir, till lightly fried and so beautifully fragrant.
-
Pour the previously measured - boiled water now. Add salt and lime juice as the water comes back to a boil.
-
As soon as it hits a boil, ¹Stir once, ²Cover and cook on low heat with a tight lid. Do not stir in between. Cook till the water is absorbed and the rice is cooked. Less than 10 minutes. Listen to the sounds from the pot, to know that the water has run dry.
-
Gently Fluff up the rice with a ladle or fork, immediately when done. Do not over-mix the cooked rice while it is hot, it will cause the rice to get mushy. Just toss it from the bottom a couple of times to aerate it and then allow all the trapped steam to escape.
Cook the Marinated Chicken in the 'Biryani Dum Pot':
-
In a small pan, add the coconut oil( 1 Tbsp) and when it heats up add minced garlic (1 tsp) and saute till light golden.
-
Pour in the coconut milk (1/4 cup) and bring to a simmer. Add the turmeric powder( 1/8 tsp) and black pepper powder (1/4 tsp).
-
Place the twice-marinated chicken (in a pot large enough to hold the masala as well as cooked rice) - on the stovetop.
-
Add half a cup of water and mix gently. Cover, turn on the heat, and bring to a boil.
-
As soon as the mixture comes to a boil, reduce heat to lowest, stir once again, and cover once again. Cook for about 10 minutes till the chicken is just cooked sufficiently enough to eat but not too tender. It will cook again in the 'dum' process. Test one piece. Add some more salt to taste- as required. I added 1/2 tsp of salt here.
-
Stir in the cooked coconut milk mixture now as well as ghee (1/2 Tbsp). Stir through.
-
Scatter some fried onion and chopped coriander over the top. Don't mix.
On to the 'DUM' - sealed cooking method for Thalassery Chicken Biryani ( with Marinated Chicken ) Now we will cook the chicken masala and the rice together in a sealed, steaming environment.
-
Now add the fluffed-up rice over the top of the chicken masala layer, a little at a time, breaking up any lumps as you go, and remove any spices you see ( to prevent biting into it later). Gently press/pat the surface of the rice layer. Don't compress.
-
Drizzle over 3 large spoons of the oil left from frying the onions again.
-
Pour the rose water over the top of the rice. Add some more fried onion and coriander leaves.
-
Mix some water into the flour to make the dough to seal the pot. (See tip in Notes). Roll this into a thick rope shape. Attach firmly around the inner edges of the Lid to the biryani pot. Invert and press firmly onto the pot. Make sure there are no gaps where the dough does not seal the thin gap between the pot and lid.
-
Place the pot over an old flat-thick pan/ tawa on a high flame to preheat for 10 minutes. Now place the 'dum Pot' over the preheated tawa. Lower the heat to low and cook on this indirect heat for 15-20 minutes. Be cautious here, reducing the time according to your burner heat. Alternatively- place in a preheated oven (200 c) and bake for 30 minutes.
-
Allow to rest for 10 -20 minutes and later cut /pry open the dough and open the lid.
-
Fluff up the rice on top without touching the chicken masala.
-
Remove the rice to serving dish OR the same pot used for cooking the rice earlier Scoop out the chicken masala and place it on the side of the rice.
-
For each plate, serve with masala and rice to desired proportions and sprinkle some of the reserved rice over the top to give a more appealing lighter finish.
-
Serve with salad and pickles. Enjoy!
-
Do let us know if you tried it. We love to hear from you.

Note
- Chicken should be rinsed thoroughly several times when making Biryani. The raw poultry smell will ruin a fabulous Biryani. Although washing chicken is not a common practice in the West. I highly recommend it if you are making a traditional Biryani.
- The dum pot should be large enough to hold both the rice and masala and enough room for some steam to develop as well.
- TIP: Add 1 Spoon of ghee to the dough used for sealing the dum pot. It will make it easier to peel off the dried dough after cooking. Otherwise, you will have to soak your pots, to wash them later.
- Rose water is available at most Indian grocery stores (do not confuse it with rose extract or essence). Quality rose water, will have a light fresh scent of rose petals and NOT a strong perfumey scent.
- For the fried onion garnish, very thinly sliced onions must be used. It is advisable to use a mandolin slicer.
- Sliced shallots can also be fried for the garnish.
- The fresh herbs used in the biryani(mint and coriander) must be exceptionally fresh - especially mint - if your mint is not really fresh - omit it. Using wilted mint will ruin the biryani.
- If we were to double or triple this recipe, the layering of the dum should be in several layers. ie. a layer of masala, followed by a layer of rice, and repeat 2 or 3 times. For the quantity in this recipe, multiple layers are not required. However, it is good to layer some fried garnish, fresh coriander, ghee, and rosewater solution in between the first and second layers of the rice.
- Key Ingredients: Chicken, Rice, Onion, Garlic, Ginger, Green Chili, Yoghurt, Mint, Coriander, Coconut Oil, Ghee, Oil, Cashew nuts, Raisins, Spices, Salt.