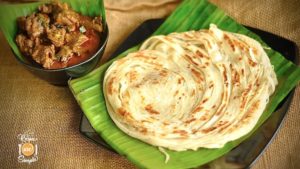
Parotta (Layered Paratha)
®This is a RAS signature Recipe©
It seems like staying home during Covid, one of the foods, that many like to try out at home are Porotta(Layered Paratha). Although not difficult to make at all, it does require that you plan ahead of time. it also requires a fair amount of resting time for the dough. Let the dough rest, or you won’t get the desired results. This is how I make parotta at home without tossing the dough like a parotta-maestro. It tastes yummy! And gives soft, perfect layers.
Total time – 3 hours 50 minutes (includes kneading and resting the dough in stages).
The Recipe Intro↓ contains , more information, STEPWISE IMAGES. Don’t forget to check it out.
Videos for this recipe are available in English and Malayalam.

You can
strike throughingredients, as you prep them, by clicking on the ingredient.
Ingredients:
| Plain flour (maida) | 500 gms | |
| Egg, at room temperature | 1 | |
| Ghee (clarified butter) | 2 large Tbsp | |
| Roasted rava (semolina) | 2 1/2 Tbsp | |
| Milk | 240 ml (1 cup) | |
| Salt | 1/2 tsp | |
| Sugar | 1 1/2 Tbsp | |
| Sunflower oil or Palm | As needed |
Method:
- Measure and add all ingredients to a large bowl (flour, egg, ghee, semolina, milk, salt and sugar).
- Using a wooden spoon mix the ingredients well till all the flour is moistened and the dough starts to hold together. Do not be tempted to add more milk. You will find that after mixing a while, the amount we have added is sufficient to moisten the dough.
- Once the dough is uniformly moistened, start to knead the dough. This is where the elbow grease comes in. You knead to knead 20 minutes. Do not be lazy here, or you will see that in the results. Do this by pulling, folding and punching actions, repeatedly. The dough should not be sticky. It should be a little softer than kneading for regular chapati.
- For best results. Cover for 5 minutes, then dump the dough on to the work surface and knead again for 2-5 minutes.
- Make a soft smooth ball of dough. It should bounce back slightly when poked. Lift this ball of dough and place in an oiled bowl. No more kneading.
- Rub the surface of the ball of dough with a little bit of oil.
- Cover the bowl with a damp cloth and place a lid on top. Keep for 3 hours, to ensure a soft parotta; this waiting time is essential.
- After 3 hours, lift out the dough, and do not knead, but stretch into a smooth elongated log shape.
- Using a dough scraper, cut and divide into 7 approximately equal portions.
- Take each, and form into a smooth ball. To do so, slightly stretch each portion and use your fist from below to push/blow it out like a balloon on top. Pinch the bottom part in your hand and press onto the work surface. This gives a smooth top surface without any cracks, Sort of like making buns. (Refer to Video).
- Return these balls into the bowl, seam side down. Lightly rub with oil. Cover again with a damp cloth and lid. Set aside for 15 minutes, this time.
- Clean the work surface, by wiping down with a cloth and hot water. Then use kitchen paper/ towels to wipe dry.
- Add some oil and rub over the work surface.
- Working with 1 ball of dough at a time, press gently and then proceed to roll(using a rolling pin). Roll out, as wide and thin as possible into a rectangular sheet. You should be able to see the work surface through the sheet of dough. Slight cuts and tears are fine.
- Now, use your dough scraper to cut thin lines, vertically across the sheet.
- Then rub some oil all over the long vertical strips. Sprinkle a small amount of plain flour over the oiled sheets.
- Use your dough scraper again to push the outer edges inwards, to make the border straight.
- Then, work with hands from both sides and push inwards, working from top to bottom as you do so, till the strips come together in the centre like a rope.
- Next; coil the rope up from the top and bottom to make two coils that come to a meeting point halfway through.
- Press one coil to a disk, lift the other one and gently press on top of the other one. Once correctly centred, press down firmly, to make a coiled, flattened disk.
- Set aside, and repeat with remaining balls of dough steps 17-20.
- Time to rest the disks of dough one last time. This time 30 minutes. Just leave them, on the workspace, since they have enough oil, they will not dry out. If they do seem dry, simply rub a little oil over them so that they do not develop a ‘dry skin layer’. The gluten relaxes when the dough rests, giving a softer texture.
- After the 30 minutes resting period, place each disk on the oiled work surface again and using a rolling pin, apply gentle force only, to roll out again. Do not use excessive force while rolling out here, because that will cause the layers to be sealed together. Applying gentle force, allows the layers to separate after cooking.
- The disks should roll out really easily, into relatively large-sized parotta.
- To cook the Parotta, at home, non-stick pans are preferred. Although cast iron skillets are often used, the heat can often cause the parotta to harden and go brown too fast. When using non-stick. place the pan on a very very low flame, and bring it up to heat – gradually.
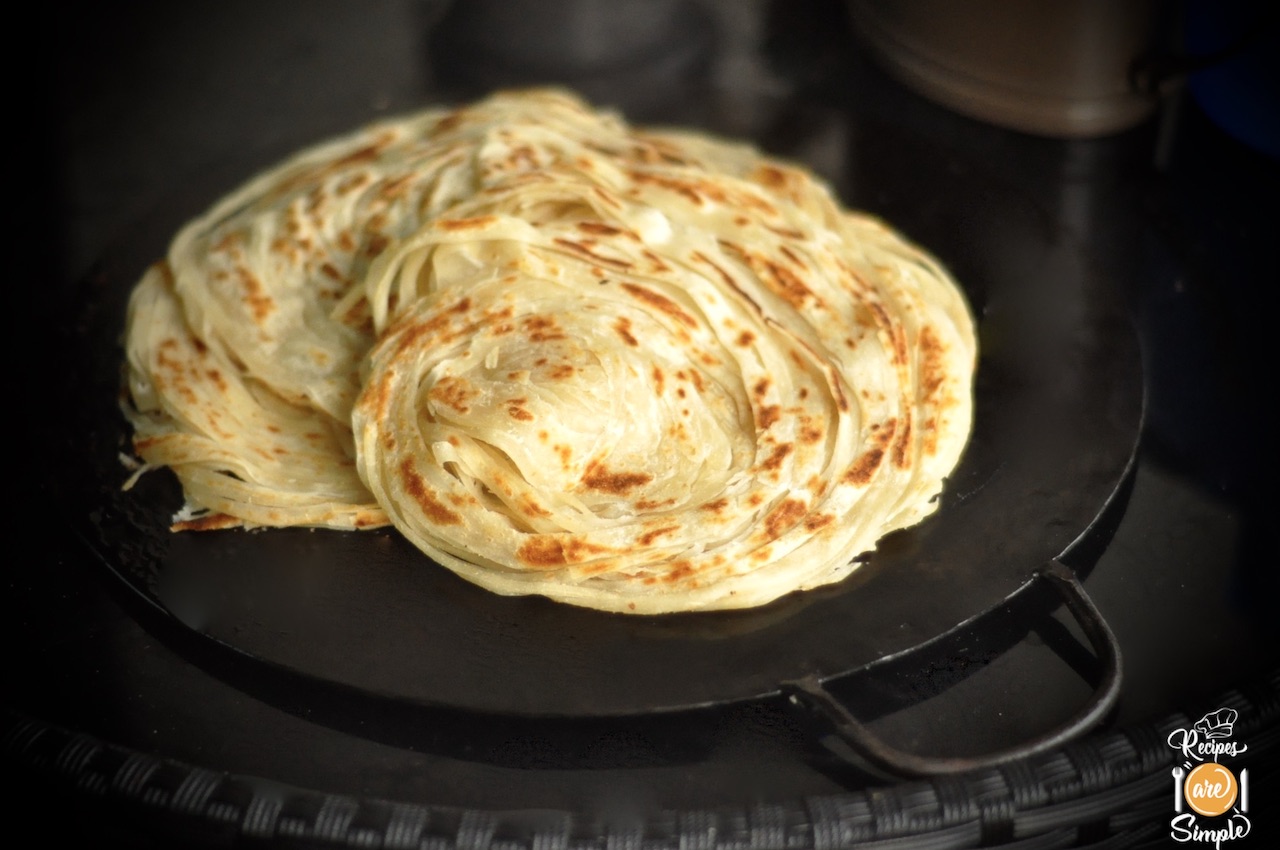
- Place one ‘rolled out’ parotta at a time, and cook on a low heat – slowly. When the bottom slowly develops a few golden spots, flip over and cook till you get the same colour on the next side. Add a little oil to the pan in between flips. Flip 3-4 times and the parotta should be cooked through and the layers should become slightly separate along the edges. Repeat this process for all the parottas.
- As you cook them, place 2 cooked parottas at a time, while still hot on a clean surface and scrunch them together between you hands using a ‘clapping’ action. Do this 2-3 times. This helps to release the layers. It must be done while the parottas are still hot.
- Transfer all the cooked and ‘clapped’ parottas to a casserole to keep warm till time to serve.
- Serve with your Beef Curry, Beef Fry or whatever you like.
Parotta (Layered Paratha)
Notes:
- Makes 7 large parotta or 8 smaller ones.
- Adding rava(roasted semolina) gave the best taste and feel for homemade parotta after many trials.
- Sugar enhances the flavour of parotta.
- You can replace milk with water, but the milk gives better flavour and softness.
- Use sunflower oil or palm oil.
- I have used these homemade parottas, to make Kizhi Parotta, also.
Key Ingredients: Flour, Oil, Milk, Eggs, Salt, Sugar.
|
Please Rate the Recipe if you have tried it below.↓ If you liked the recipe, please do to leave me a comment and CLICK THE LIKE BUTTON at the bottom of this page! Thank you! ♥ EAT AND TELL!!! Let us know if you tried – Parotta (Layered Paratha)If you make the dish, and share to your SOCIAL MEDIA please don’t forget to tag me @recipesaresimple and hashtag it #recipesaresimple on any platform. Thank you! ♥ Mail me your pics and testimonials 🙂 – recipesaresimple@gmail.com |
Quick Browse to see All Recipes by Category. World Cuisines to browse recipes by Regional Cuisine.
Thanks for visiting www.recipesaresimple.com


