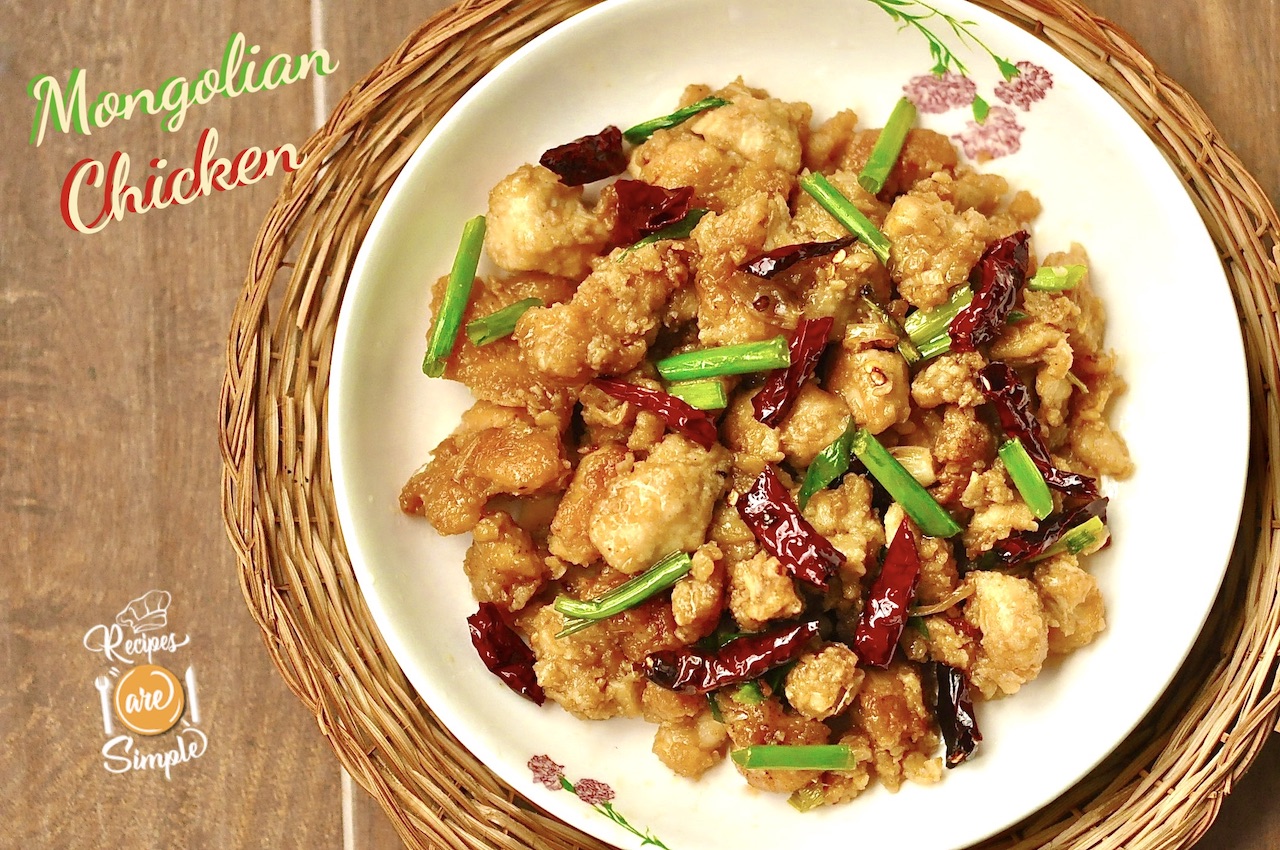
Tender, fried Chicken Morsels in a succulent, delicious, sweet, and spicy sauce. That’s ‘ Mongolian Chicken ‘. Similar to Mongolian Beef. If you love this Chinese take-out item… You will be so happy to know you can make it perfectly at home!
Mongolian Chicken
® This is a RAS signature Recipe©
♦Prep time:23min ♦Cook time:12min ♦Yield:6-8 Servings.
A detailed introduction and related links are available on the
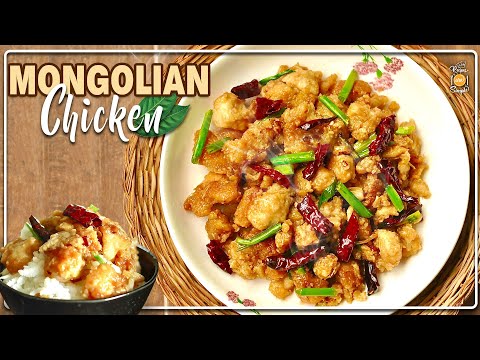
Recipe Intro ↓ : Check it out or scroll down for the Recipe and Video⇓.

EAT AND TELL!!! Let us know if you tried– Mongolian Chicken
| ♦Mail me your pics and testimonials 🙂 – recipesaresimple@gmail.com ♦If you make the dish and share it on your social media, please don‘t forget to tag me @recipesaresimple and hashtag it #recipesaresimple on any platform. ♥Please rate the recipe if you have tried it below ↓♦Quick Browse to see All Recipes by Category.♦World Cuisines to browse recipes by Country. ♥Thanks for visiting www.recipesaresimple.com |
Mongolian Chicken
Description
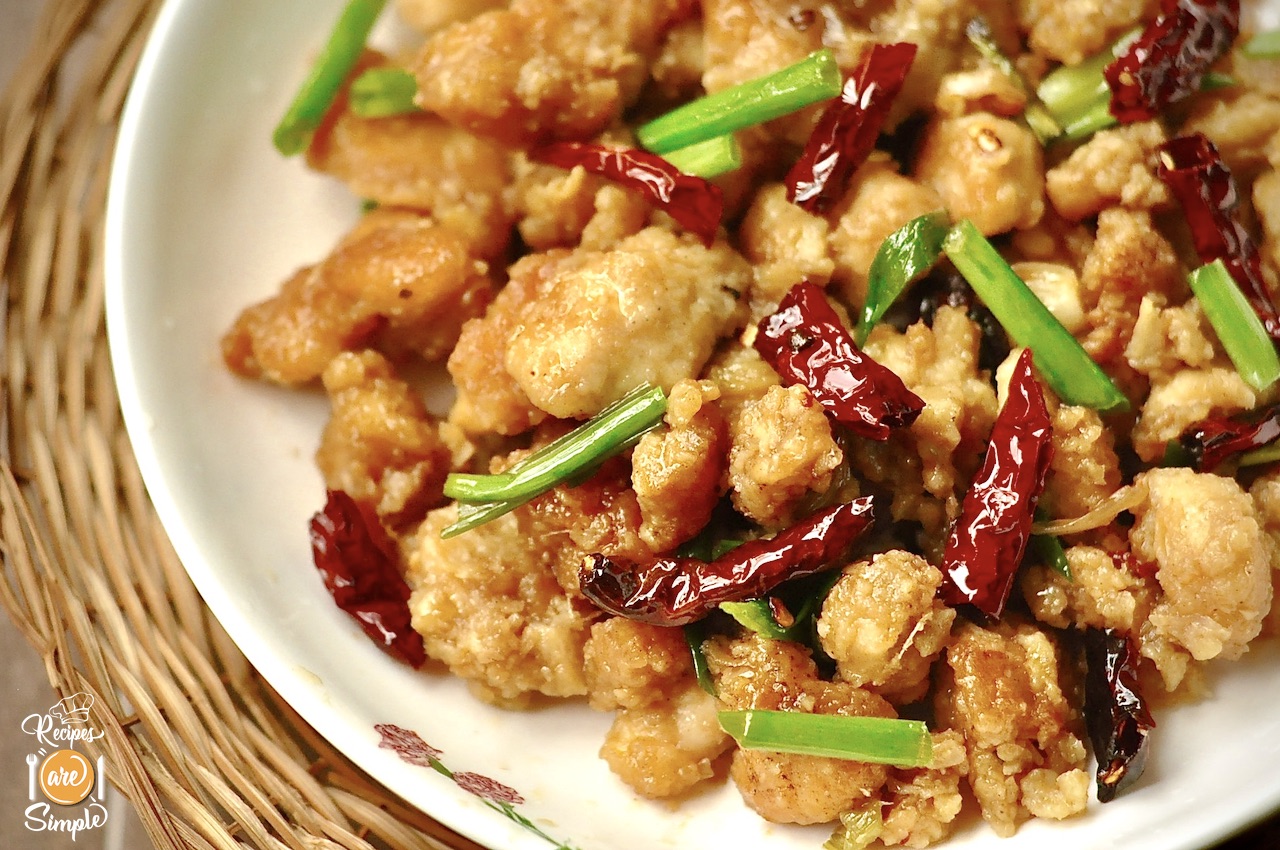
Mongolian Chicken is a popular Chinese-American dish characterized by its sweet-and-savory profile, a glossy dark sauce, and a generous amount of green onions.
Despite the name, it is not a traditional Mongolian dish; it is a variation of Mongolian Beef, adapted for those who prefer lean poultry over red meat.
Ingredients:
For the Batter / Coating:
For the Sauce:
Secret to tasty Mongolian Chicken:
Instructions
-
Cut the chicken into small bite-sized pieces. Rinse once and then add to a bowl to add the batter ingredients.
-
Add all ingredients for the batter/coating (flours, egg, pepper and sesame oil). Mix well to coat all the pieces thoroughly. If you did not rinse the chicken, you will want to add 1 -2 Tbsp of water to moisten the flour, enough to coat the pieces properly. Make sure you mix in the egg thoroughly as well. It should be a thick coating and slightly sticky.
-
Chop up all the fresh ingredients and set aside. Start heating up the oil while you prep these ingredients.
-
Add the oil to a wide and deep wok or pan to fry the chicken. Once the oil is moderately hot, add the chicken all at once in one thick layer (this is why we are using the wide pan). Of course, you can deep fry in small batches, but this takes longer.
-
Once all the chicken is added, gently separate the larger chunks. The chicken will be really stuck together. Don't bother separating each piece just now.
-
Fry for about 3 minutes, till the bottom turns golden brown. You can separate the pieces again after 1 minute of cooking. Don't stir the chicken too much to separate it, soon after adding it to the hot oil, as this will separate the batter.
-
Prepare the sauce while the chicken is being fried. Add all the sauce ingredients to a bowl. and stir well, breaking up half of the stock cube, in the water as you do so.
-
Once the chicken has fried for 3 minutes. Flip over the chicken to fry the other side. Since it is still clumped together in sections, you can flip it over easily. We will separate the pieces after the second side is also golden. So after another 2-3 minutes and the chicken has become golden on the other side, start separating the chicken pieces that have stuck together. Once all are separate, Toss and fry till the pieces are golden all over, just another minute or so. Total time in the oil is about 6 minutes. Remove the chicken once it is evenly golden and bouncy.
-
Remove all but 3 Tbsp of oil from the wok /pan.
-
Add the minced ginger first. Stir and add the broken dried red chillies (2-3). Stir again and add the minced Garlic and Spring onion bulbs now. Stir well, adding the chilli pepper flakes. Stir till the garlic and ginger are nice and fragrant ( raw smell be gone )and the colour of chillies has mixed in, without letting the mixture turn dark. Don't burn your garlic!
-
Once golden and fragrant, add the prepared sauce.
-
Stir and add one more Tbsp of light soy sauce if you need some more colour. Do so after tasting.
-
Simmer briefly till slightly thickened.
-
Return the chicken and toss it in the sauce ingredients to coat well.
-
Prepare the cornflour slurry ( mix 2 tsp cornstarch in 1/2 cup of water and stir well). Add this over the chicken in the sauce. Stir till the slurry thickens the sauce slightly and also makes it nice and glossy.
-
Turn off the flame. Add the reserved, chopped spring onion greens.
-
For that extra special RAS touch: Heat 2 Tbsp oil in a small, separate pan. Add the chilli powder and allow to sizzle. Quickly add 2 broken dried chillies and the spring onion greens. Before the chillies become dark, add the honey and stir. Once slightly thickened and syrupy. Pour over the chicken.
-
A little bit of Spicy, a little bit of sweet, your delicious Mongolian Chicken is ready! Serve hot with steamed white rice.
Note
- We are keeping this recipe closer to the original, but many restaurants add vegetables to the beef/chicken. You can add peppers, carrots or broccoli to the sauce if you like! Stir-fry lightly in oil with a little garlic before adding the sauce ingredients.
- Light or dark brown sugar is preferred over caster sugar for this recipe. However, keep in mind that using darker sugar will give the final dish a darker look as well. I use 1 Tbsp raw sugar ( which is unrefined cane sugar) and 2 Tbsp soft brown sugar here.
- Milder Dried red chillies are used in this recipe. Add according to how hot they are.Key Ingredients: Chicken, Flour, Pepper, Egg, Oil, Garlic, Ginger, Spring Onion, Soy Sauce, Dried Chilli, Cornstarch, Stock, Sugar.