Ingredients:
| Biryani rice (Basmati or Kaima) | 1 kg | |
| Chicken (Use only fresh Chicken for Dum Biryani) | 1 1/4 - 1 1/2 kg | |
| Vanaspati (Dalda) | 3 Tbsp | |
| Onions, sliced (RED ONION) | 4 | |
| Ghee | 1/2 cup plus 1 Tbsp | |
| Cashew nuts | 1/2 cup | |
| Kismis/ raisins | 1/4 cup | |
| Red onions, extra finely sliced, using a mandolin slicer | 2 large | |
| Biryani Masala powder (I used my Thalassery Biryani Masala powder - see notes) | 2 Tbsp | |
| Freshest Mint leaves | 1/2 cup | |
| Fresh Coriander leaves | 3/4 cup | |
| Lime juice | 1 tsp | |
| Rosewater, divided | 4 Tbsp |
To Marinate the chicken
| Garlic (Indian garlic) | 1/2 cup(50 gms) | |
| Ginger | 1/2 cup(50 gms) | |
| Small hot green chillies | 10 nos(15 gms) | |
| Tomatoes, sliced very thinly | 4 medium-sized | |
| Thick yoghurt / greek style yoghurt (not too sour) | 1 cup | |
| Fennel seeds and KasaKasa (White poppy seeds) - ground together to a powder | 1 1/2 Tbsp | |
| Coriander powder | 1 Tbsp | |
| Turmeric powder | 1/2 Tbsp | |
| Salt | Just over 1 tsp |
For the Rice:
| Water | 5 litres | |
| Salt | 4 Tbsp | |
| Cloves | 7 | |
| Green cardamom | 5 | |
| Cinnamon, broken into 3 | 1 stick |
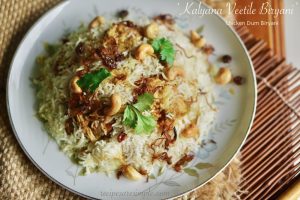
Nothing can beat the taste of the ‘Kalyana Veetile Biryani’ (Kerala Wedding Biryani). It’s the taste that lingers on days after the ceremony. ®This is a RAS signature Recipe©
Total time includes Marination Time (1 hour). Do not let the number of ingredients deter you. They are mostly spices and are repeated in the different sections of the List of Ingredients.
Kerala Wedding Biryani

The Recipe Intro ↓ has , more information. Don’t forget to check it out.

| ♦Let me know if you tried – Kerala Wedding Biryani. Please comment below. ♦You can also – Mail me your pics and testimonials 🙂 –recipesaresimple@gmail.com ♦on SOCIAL MEDIA tag me @recipesaresimpleand hashtag it #recipesaresimple on any platform. Thank you so much! ♥ |
♦Quick Browse to see All Recipes by Category. ♦World Cuisines to browse recipes by Regional Cuisine.

Kerala Wedding Biryani
Description
The taste lingers on past the ceremonious occasion.. The rich flavor of a true Dum Biryani..
In Kerala, people are passionate when it comes to Biryani. Each region may have its signature style of Biryani. Everyone may have their favorite type of Biryani, but something we all can agree on is that there is something especially delicious about ‘Kalyana Veetile Biryani’ (The Biryani at the Wedding House).
Read more about the dish on the Intro page, before proceeding, or continue with the recipe below.
Ingredients:
To Marinate Chicken:
For the Rice:
Instructions
-
Clean, Rinse, and Drain the chicken well.
-
Crush the garlic, ginger, and green chilies together, using a mortar and pestle to get a nice paste
-
Add the drained chicken to a bowl. To this, add the marinating ingredients: (crushed ingredients, sliced tomatoes, yoghurt, fennel-poppyseed powder, coriander powder, turmeric powder and salt).
-
Rub well into the chicken and marinate for a minimum of 1 hour. (1 hour is required in this recipe for the chicken to develop proper flavor).
-
When the Chicken has been marinating for about 50 minutes. Rinse the Biryani rice.
-
Rinse the rice several times, till the water runs clear. Soak in water for 10 minutes (no more). Drain quickly and set aside.
-
Heat a wide non-stick wok. Add the Vanaspati and heat.
-
Add sliced onions and saute patiently, till deep golden in color ( not black ).
-
Add the chicken that has marinated at least 1 hour to this wok. Toss the chicken well in the deep golden onions till thoroughly mixed. Turn off the heat ( We don’t want to cook the chicken, just toss till it gets some of that golden color). Set aside.
-
At this stage start to boil the water for the rice – on a separate burner: Boil 5-litre water in a large pot.
-
Add salt (4 Tbsp).
-
Add the whole spices ( cloves, cardamom, and cinnamon – for the rice). Bring to a rolling boil and quickly add the drained rice. Don’t boil the water too long before adding rice.
-
Cover and cook on high till the water bubbles up to the lid, this should happen in 1 minute.
-
Remove the lid, lower heat and simmer for exactly 5 minutes. Drain quickly. The rice should be only 3/4th cooked at this stage. To test, break a semi-cooked grain between your thumb and index fingers. It should break but still be soft.
-
Keep this rice aside.
-
Heat the ghee in a wok. Fry the cashews till golden, strain and set aside. Fry the kismis in same ghee till plumped up ( this happens very quickly). Strain and set aside.
-
Into the same ghee add the mandoline sliced onion and fry, stirring occasionally to golden brown. Once it gets golden, don’t step away. It can go dark very quickly. Strain the golden fried onions and set aside on a metal/spider strainer. They will become crisp after sitting in the strainer a while.
-
reserve the ghee used for frying.
-
We need a very large Biryani pot, or a 12 litre Pressure cooker ( as I have used). Lightly grease the bottom.
-
Add the marinated chicken that was tossed in the deep golden ‘dalda fried – onions’.
-
Add the Biryani Masala powder, and stir through. Spread this Chicken Masala evenly.
-
Over the top add the fresh mint, coriander, Sprinkle lime juice, 2 Tbsp of the Rosewater, a little bit of the fried onions. Don’t stir this layer.
-
Fluff up the rice and spread over this green layer.
-
Pat the top gently, the rice over the top without pressing much/packing tightly.
-
Pour over the ghee used for frying the cashews over this rice evenly as well as remaining 2 Tbsp rose water.
-
Add some more fried onions over the top.
-
In case of 12 litre pressure cooker: Close the cooker, applying the pressure regulator. On a high -flame, cook for 10 minutes. You may hear 2-3 steam whistles. That is fine. after exactly 10 minutes, turn off the heat and leave the cooker undisturbed for 20 minutes before opening.
-
If using regular Dum Pot: Mold the 1 cup kneaded wheat flour dough into a thick rope. Press all around the rim of the pot and quickly press down with the lid to seal. make sure there are no gaps where dough does not seal the thin gap between the pot and lid.
-
Place the pot over an old flat pan/ tawa ( that has already been heated till piping hot.) On a medium flame, cook on this indirect heat for 10-15 minutes. Allow to rest for 1 hour and later cut open through the hardened dough and open the lid.
-
Open the pot and fluff up the rice on top without touching much of the chicken masala.
-
Remove the rice to another wide-mouthed pot / urulli, scoop out the chicken masala, and place it on the side of the rice OR in another wide-mouth vessel.
-
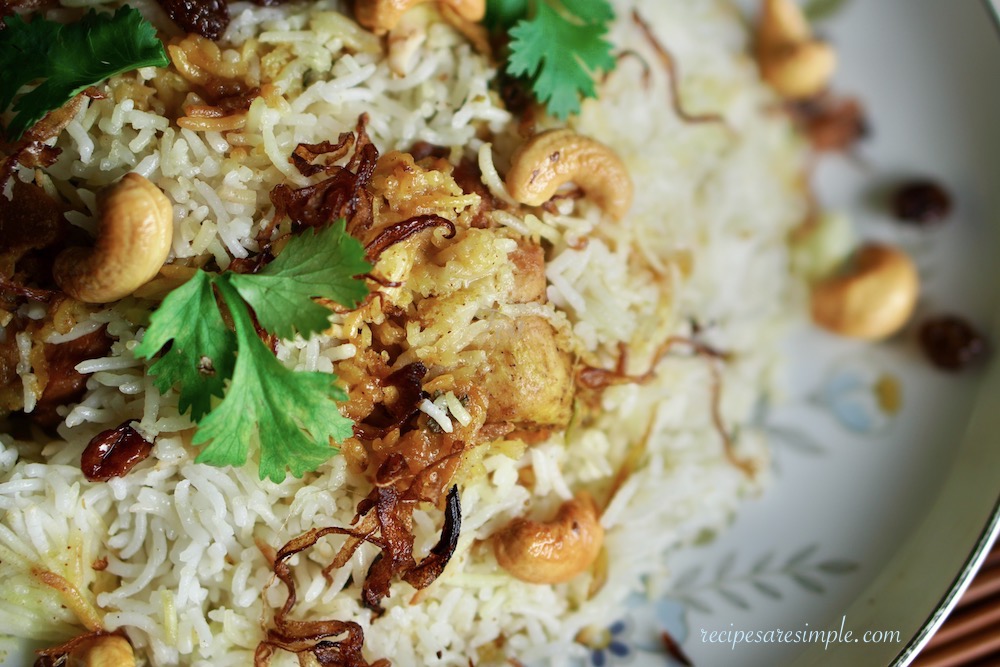
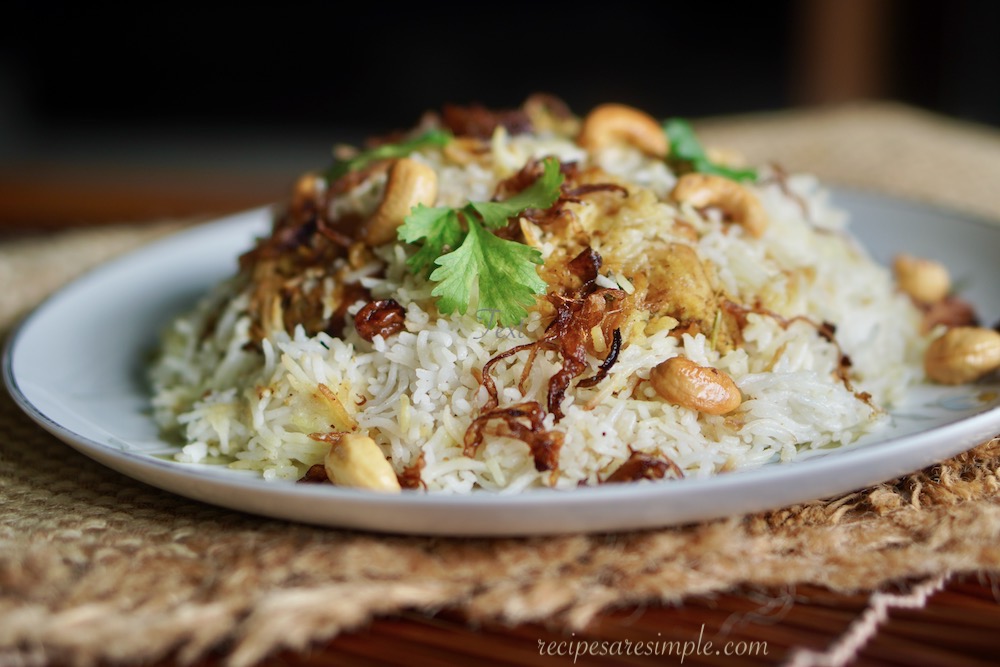
For each plate, serve with masala and rice to desired proportions, garnished with the fried ingredients.
-
Serve with Raita /Salad and pickle. Enjoy!
-
Do let us know if you tried it. We love to hear from you.
Note
- Always check the expiry date on you DALDA/ vanaspati. Too close to the date or stored in hot places too long, the dalda looses the great scent and develops a slight rancid flavor and scent. New Dalda always smell really good when heated.
- Thalassery Biryani Masala powder
- Key Ingredients: Chicken, Rice, Onion, Garlic, Ginger, Green Chili, Tomatoes, Yoghurt, Mint, Coriander, Vanaspati, Ghee, Oil, Cashew nuts, Raisins, Rose water, Lime,Spices, Salt.


