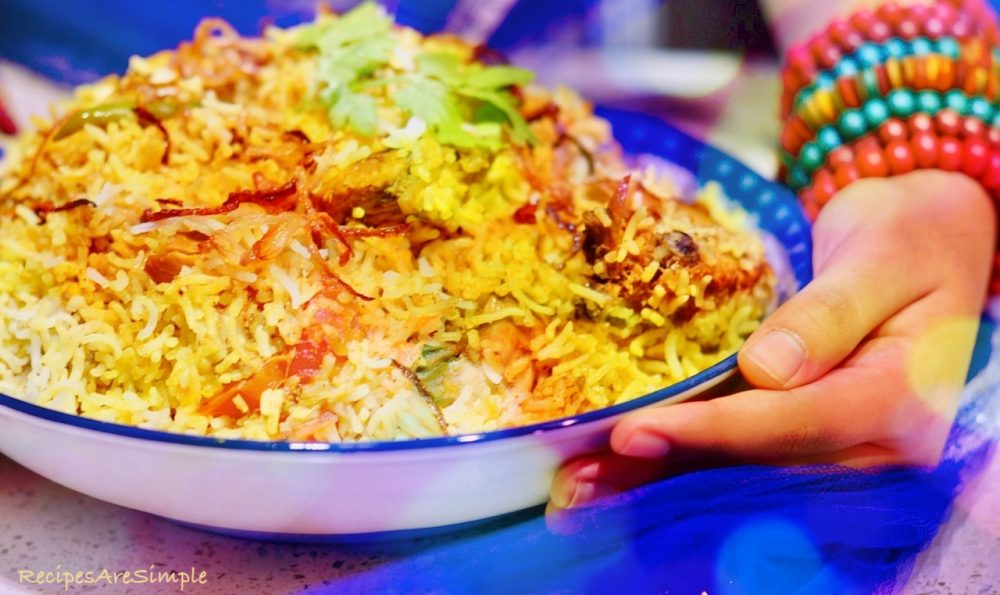
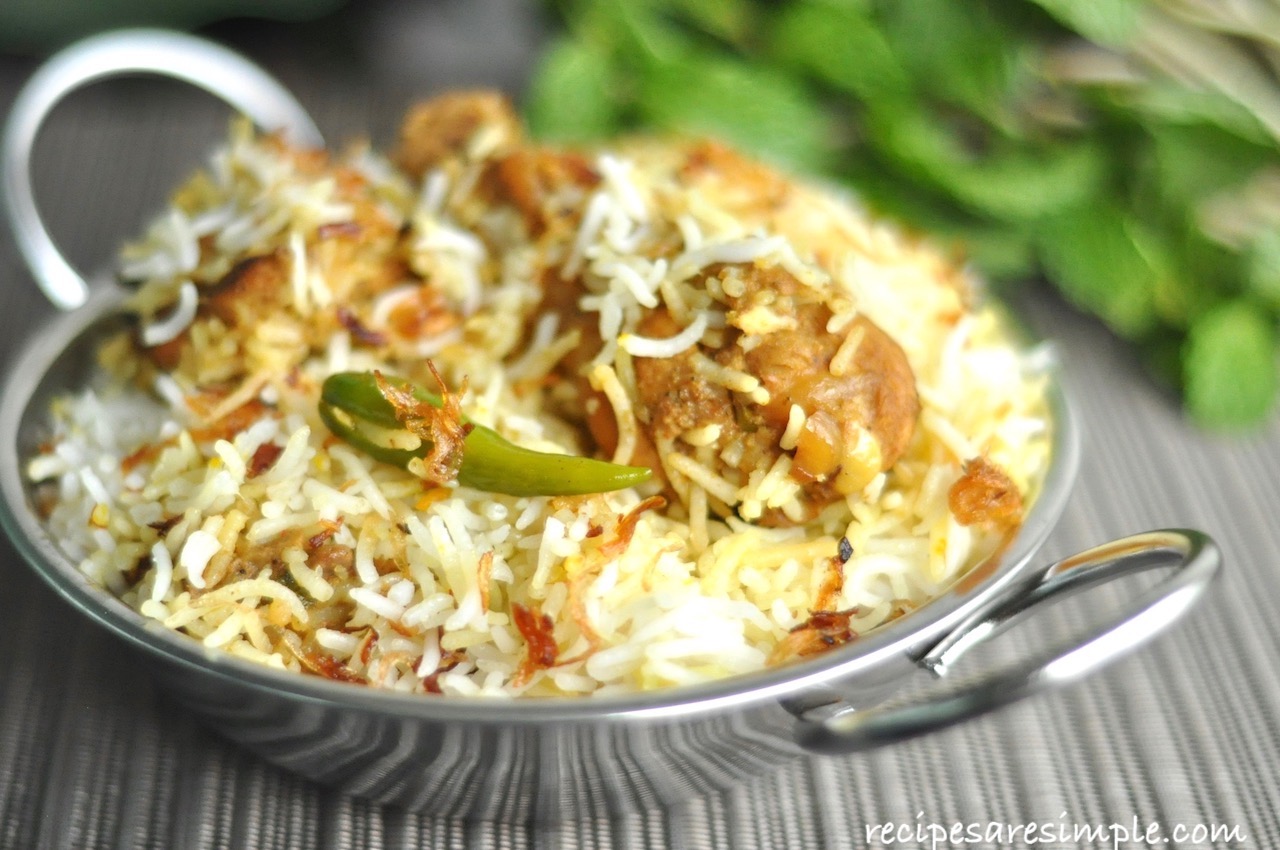
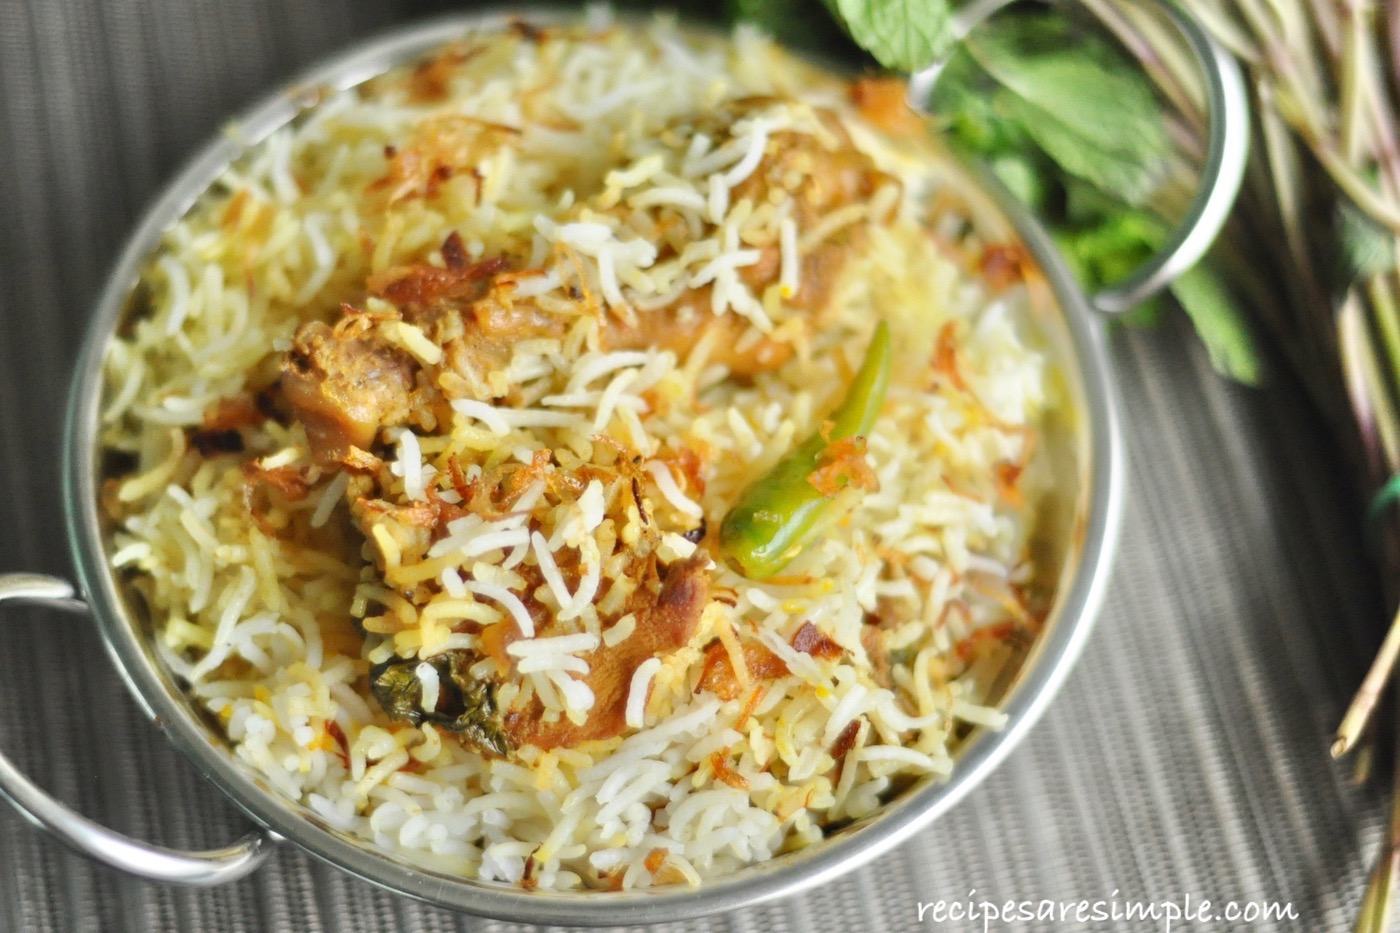
The Queen of the Biryanis. Rightly so. A failproof recipe to get delicious results at home! The rice is perfectly cooked and the masala penetrates the dish superbly.
Hyderabad Chicken Biryani

® This is a RAS signature Recipe©
Total time includes Marination (30 minutes).
More info on Hyderabad Chicken Biryani , pictures of ingredients used in the Biryani Masala and related links
available on the Intro page ⇓. Check it out or scroll down for the recipe ⇓.

|
♦ DID YOU TRY? –Hyderabad Chicken Biryani. Please comment below. ♦You can also – Mail me your pics and testimonials 🙂@ recipesaresimple@gmail.com ♦on SOCIAL MEDIA tag me @recipesaresimple and hashtag it #recipesaresimple on any platform. Thank you so much! ♥ |
♦Quick Browse to see All Recipes by Category. ♦World Cuisines to browse recipes by Regional Cuisine.
♥Thanks for visiting www.recipesaresimple.com

Hyderabad Chicken Biryani
Description
Hyderabadi Chicken Biryani is a renowned dish from Hyderabad, India, known for its rich flavors, aromatic spices, and distinct presentation. This is indeed the most famous of all the delicious Biryanis in India. I love this recipe.
Ingredients:
For Marinating the Chicken:
Hyderabadi Biryani Masala Powder (Spice Mix)
Instructions
-
Heat the whole spices ( for the Biryani Masala) and cashew nuts in a pan for two minutes, stirring continuously. Add dried rose, just before you take the pan off the heat.
-
Add this to a small spice grinder, along with the powdered spices (coriander, chilli, turmeric). Grind into a fine spice powder and set aside.
-
Next, grind together all the ingredients, for marinating the chicken, as well as 2 tsp of the prepared spice mix Also, add salt( 1 tsp).
-
Marinate the chicken with this mixture for 30 minutes.
-
Soak the Basmati Rice in freshwater, after rinsing for 20 -30 minutes. Drain well ( Keep in a colander till ready to cook).
-
To a heavy-based pot ( copper pots are best), add the peanut oil and heat. (The pot should be large enough to contain the cooked chicken masala as well as the rice.. and also have plenty of space for steam to develop above).
-
Add the finely sliced red onion and fry till they turn golden brown and crisp. Remove just less than half the fried onions, with a slotted strainer handset aside on greaseproof paper ( spread them out).
-
To the remaining golden onions in the pot, add the marinated chicken. Fry the chicken pieces, until they are no longer pink and develop a brown color from the fried onions (About 2 minutes).
-
Add the coriander powder( 2 Tbsp ) and the remaining prepared spice mix (about 2 Tbsp).
-
Now add 2 cups of water and bring to a boil. Lower heat and cook covered for 10 minutes.
-
At this stage start to boil the water for the rice - on a separate burner: Boil 3-litre water and 3 Tbsp salt in a large pot. Add the whole spices ( cloves, cardamom, and cinnamon - for the rice). Bring to a rolling boil and add the drained rice.
-
Cover and cook on high till the water bubbles up to the lid, this should happen in 1 minute.
-
Remove the lid, lower heat and simmer for exactly 5 minutes. Drain quickly. (Reserve 1/4 cup of the cooking liquid). The rice should be only 3/4th cooked at this stage.
-
Continuing with the masala : (After 10 minutes of cooking, as in step #10). Open and cook until there's only 2 cups of gravy/liquid in the chicken. I just 'eyeball' this.
-
Now stir the masala well, making sure none is stuck to the bottom of the pot.
-
Scatter the fresh, chopped mint and coriander as well as tomato (optional) and green chillies over this masala. Do not stir. Add the drained rice over the masala. Spread it evenly and just pat lightly.
-
Mix the ghee in the reserved liquid from boiling the rice. Sprinkle this all over the top of the rice.
-
Also, sprinkle the saffron and milk mixture all over.
-
Place the lid on top with either of these methods, to prevent steam from escaping. (1. Use a soft, pliable dough made with flour, water and a tiny bit of ghee to make a thick rope all around the lid. Press to seal the lid to the mouth of the pot. 2 Use a double sheet of aluminum foil to cover the pot and then cover tightly with the lid. 3 Use a thick, damp cloth just a little larger than the mouth of the pot to cover, before shutting with the lid.)
-
Once sealed, cook on low heat for 15 minutes. Allow to cool down for 10 minutes, then pry open the sealed lid to be mesmerized by the sheer fragrance. Toss lightly to mix. It will look a little moist, to begin with, this moisture will be absorbed/ aired out quickly.
-
Serve with a cool Raita or hot Mirchi ka Salan. (Yoghurt Salad or Green Chilli Curry Sauce).
Note
- Malayalam Video for Hyderabad Chicken Biryani
- TOMATOES are not used usually in Hyderabadi Biryani. I simply use them in the layering process . They are not added to the masala.


Thanks For Sharing this amazing recipe. My family loved it. I will be sharing this recipe with my friends. Hope the will like it.
So happy to hear that! Thank you 🙂