A beautifully scented, flavoursome Biryani made by marinating and frying the chicken before you add it to the Masala. A simple, yet guaranteed recipe from Recipes are Simple.
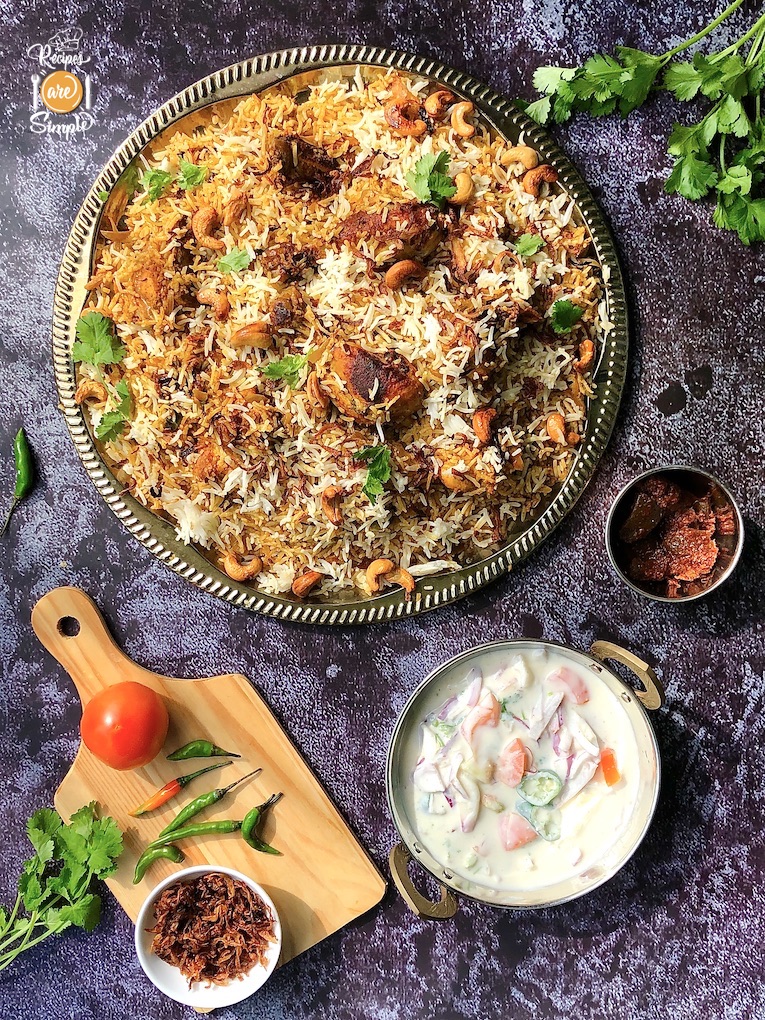
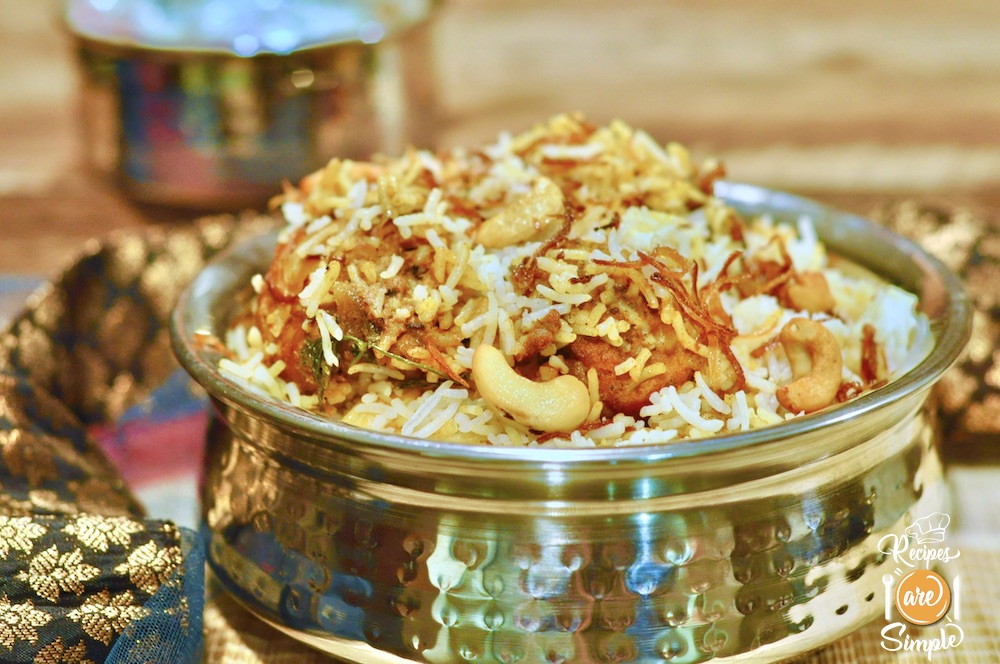
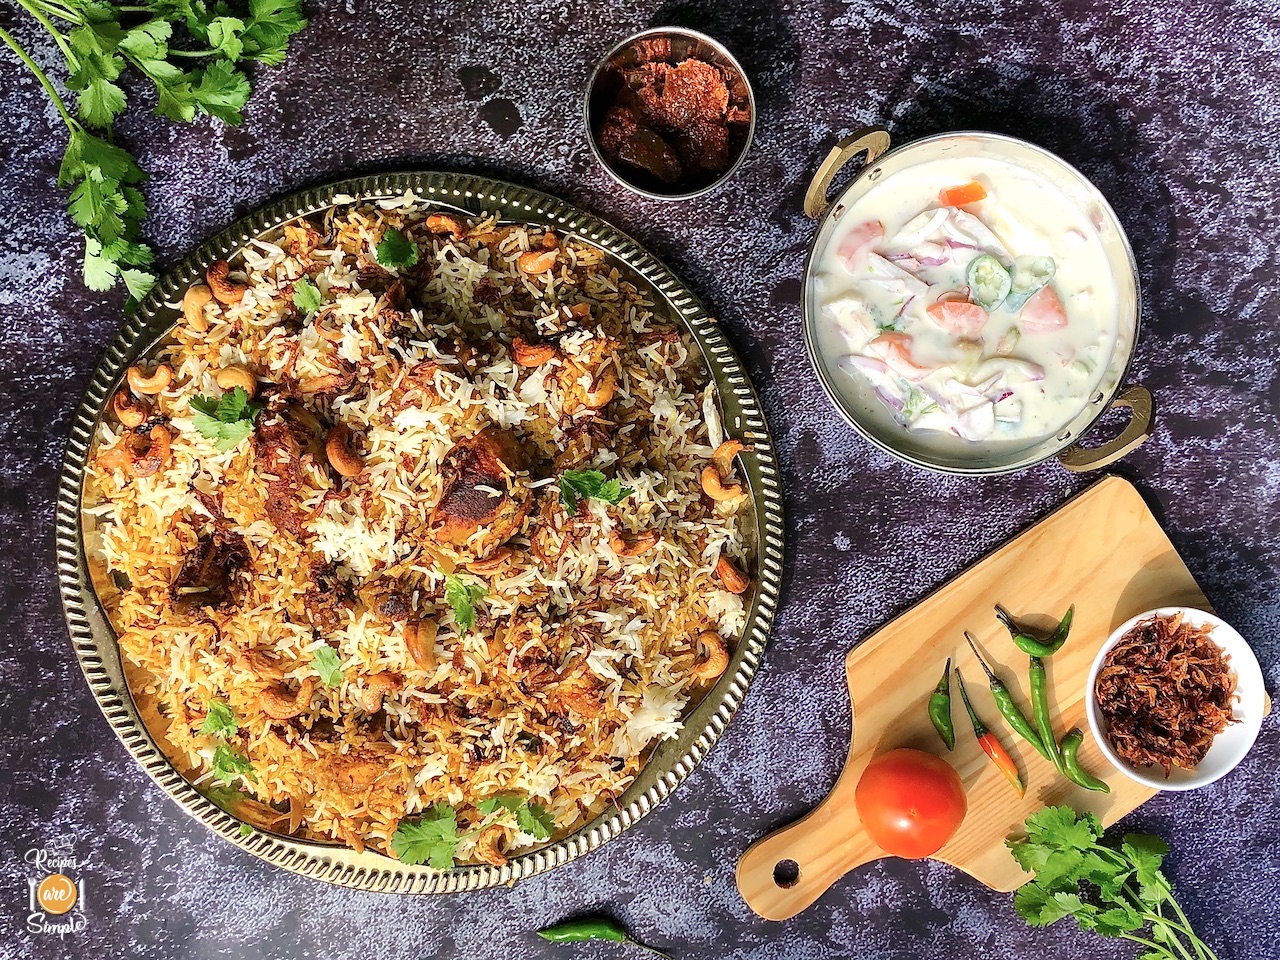
Fried Chicken Biryani
® This is a RAS signature Recipe©
♦Prep time:45min ♦Cook time:30min ♦Marination: 5 hours ♦Yield:8--10Servings.
A detailed introduction, and related links are available on the
Recipe Intro ↓ : Check it out or scroll down for the Recipe and Video⇓.
Marinating the chicken for 3-5 hours is crucial for this recipe. And always make sure you have sufficient salt. These two points can make or break the dish.

EAT AND TELL!!! Let us know if you tried – Fried Chicken Biryani
| ♦Mail me your pics and testimonials 🙂 – recipesaresimple@gmail.com ♦If you make the dish and share it on your social media, please don‘t forget to tag me @recipesaresimple and hashtag it #recipesaresimple on any platform. ♥Please rate the recipe if you have tried it below ↓♦Quick Browse to see All Recipes by Category.♦World Cuisines to browse recipes by Country. ♥Thanks for visiting www.recipesaresimple.com |
Fried Chicken Biryani
Description
This signature biryani features succulent chicken pieces that are marinated and fried to golden perfection before being layered with fragrant Basmati rice. Infused with the delicate notes of rosewater, pineapple, and caramelized onions, it offers a sophisticated balance of savory depth and floral sweetness that defines the ultimate Malabar feast."
Ingredients:
To Marinate Chicken:
For the Sauteed Masala:
For cooking the Rice:
Instructions
-
Make sure the chicken pieces are thoroughly rinsed and drained. There should be no water in the bowl.
-
To marinate the chicken: first, place the green chillies, green/black peppercorns and curry leaves in a grinder. Grind to a coarse paste.
-
Add this and all other ingredients (to marinate the chicken) to the chicken, making sure to crumble the half-piece of chicken stock cube well.
-
Rub the ingredients into the chicken pieces for a minute, making sure all the ingredients are well incorporated.
-
Cover and refrigerate the chicken for 3-5 hours. I always marinate for around 5 hours for the best flavour! Make sure to remove the chicken from the fridge 30 minutes before frying.
-
The next step is to soak the cashew nuts (1/2 cup) in a small bowl of hot water. Leave this till you are ready to make the masala.
-
30 minutes before cooking- I get my other ingredients ready. First, remove the chicken from the fridge.
-
Rinse the measured rice (4 cups) thoroughly and soak for 10 minutes. Drain this and set aside.
-
Meanwhile, slice 4 Onions for the Masala and finely slice 3 large onions for frying (using a mandoline slicer). Make sure all other ingredients are ready.
-
Cook the rice: Bring 6 cups of water to a boil in a pot with a secure lid.
-
As soon as the water has come to a boil, add the drained rice. As it returns to a simmer, add the whole spices (1 Tbsp cloves, 1 Tbsp green cardamom, 3 sticks of cinnamon) and salt (3 tsp).
-
Lower the heat to a minimum, stir in the lime juice (2 Tbsp) and Ghee (2 Tbsp). Cover tightly and cook for 10 minutes, till the water runs dry. Check on this after a while to make sure the rice doesn't stick to the bottom. Once done, fluff up the rice with a fork (to prevent locked steam from overcooking the rice) and keep covered.
-
Fry the Marinated Chicken: Heat the oil for frying the chicken in a deep, wide pan/wok. I use coconut oil because it enhances the flavour. You can use sunflower oil or a similar oil instead.
-
Fry the chicken in batches in the oil till deep golden on one side. Turn over and fry the other side similarly. TIP: Although we want a deep golden fried colour, we don't want the chicken fully fried. It still has time to cook in the masala and later in the 'Dum' /Steamed layered cooking. Make sure here, NOT to over-fry the chicken. It will make the chicken 'tough' in the biryani.
-
Set aside the par-fried chicken. (Keep the marinade left in the bowl for later). Wipe down the pan and return 1/4 cup of the oil used to fry the chicken.
-
Cook the Masala: Once the oil has heated up, add the sliced onions and saute for 2-3 minutes, on medium heat till softened, but not browned.
-
Next, add the Ginger-Garlic paste (4Tbsp) and whole, hot green chillies (5-6). Sauté 1-2 minutes, stirring, till the raw smell of ginger and garlic has dissipated.
-
Next, on low heat, add the spice powders: Garam Masala (1Tbsp), Kashmiri chilli powder (3 tsp) , Coriander powder (3tsp), Turmeric powder (1/2tsp) and Fennel powder (1/2Tbsp).
-
Stir till aromatic, and the spice has lost that raw aroma. Add the chopped tomatoes(2) now.
-
Stir and cook till the tomato has softened and mashes easily, about 2 minutes.
-
Grind the soaked cashew to a smooth-velvety paste along with its soaking water. Add this and stir through the sauteed masala. Keep the masala on a lower flame, once this paste is added, as it tends to get scorched easily.
-
Return the par-fried chicken and toss it in the masala till coated. Also, add the regular yoghurt(3 Tbsp) and toss through once more.
-
Add 3/4 cup of water to the bowl of reserved chicken marinade and rinse this out into the pan as well. Stir well. Cover and cook on a low flame for 5 minutes. Open and stir once or twice to make sure the cashew paste doesn't burn to the bottom. Switch off the heat.
-
Add the mint leaves (4 Tbsp) and coriander leaves (1/2 cup) and stir through. Set aside.
-
Preheat oven to 200C °C at this time, if baking in the oven. You can alternatively cook the layered chicken and rice on the stovetop.
-
Fry the Onions till golden crisp: Heat oil for deep frying the finely sliced onions. Using a smaller wok, we can use less oil. Make sure when you fry the onions, to keep them golden brown and do not let them become blackened. This will ruin the flavour of the biryani. Fry in batches and set aside. I have shown the method of frying the onions in several of my Biryani videos.
-
Assemble the 'Dum' pot: Lightly grease a pot with a thick base for cooking the Biryani. It should be large enough to hold the cooked rice and cooked chicken masala together.
-
Add the masala chicken layer on the bottom and make sure there is a 2-inch gap around the edges.
-
Over this, sprinkle some fried onions, followed by a layer of fluffed-up, cooked rice. As you do so, remove the excess cloves, cardamom and cinnamon and discard.
-
Over this, sprinkle more fried onions, followed by another layer of rice, reserving 1/4 portion of the cooked rice for 'plating time'.
-
Over the rice in the dum pot, sprinkle the rose water (4Tbsp), unsweetened pineapple juice(3 Tbsp)-see notes, and some of the oil from frying the Onions (3 Tbsp).
-
Top with some more fried onion. Seal the pot with a double layer of aluminium foil.
-
Place in the preheated HOT oven, and bake for 10 minutes. Switch the oven off and wait 5 minutes.
-
Meanwhile, fry the cashew nuts and raisins for garnish in the oil remaining from frying the onions. Set aside.
-
Remove the pot from the oven and carefully toss the chicken and rice from the bottom, and remove the chicken pieces to another dish.
-
Toss the remaining rice with the masala to incorporate and distribute colour nicely, adding more fried onions while you mix.
-
Return one layer of chicken pieces, followed by one layer of cooked plain white (reserved) rice > more fried onion >remaining chicken pieces >more fried onion, followed by remaining white rice.
-
Top with remaining fried onion, cashew nuts and raisins as desired.
-
Serve with Biryani Raita and other sides. Delicious Fried Chicken Biryani for the whole family to enjoy.

Note
- The video for this recipe is currently only available on my Malayalam language channel. It still shows ingredients in English.. and you can mute and watch along with the written recipe.
- This type of Biryani requires less time in the 'Dum' than most recipes. It is still essential to get the aromas filtered correctly through the rice. I recommend that you leave the pot closed for at least 10 minutes after cooking, to build more steam in the residual heat.
- When you fry the onions to a golden crisp, make sure they stay golden brown. They tend to go black very quickly if you don't remove them from oil on time. These onions are not merely used as a garnish; they flavour the rice. Using blackened onions will also ruin the flavour of the rice.
- Ginger- Garlic paste is made by processing together equal amounts of fresh ginger and garlic till a smooth paste is formed, adding as little water as possible to make it smooth. In Indian households, this is stored weekly in a big batch so that you merely have to take spoonfuls of this mixture while cooking. I have a video of how I make my biweekly stash here.
- My Kerala Garam Masala is used in this recipe. Try it.
- Key Ingredients: Chicken, Basmati Rice, Onions, Ginger, Garlic, Tomato, Yoghurt, Green Chilli, Oil, Ghee, Whole spices, Powder spices, Fresh Coriander&Mint, Cashewnuts, Raisins(Kismis), Limejuice, Salt.