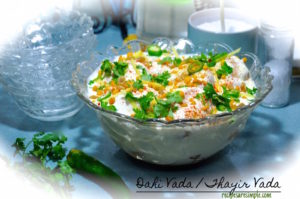
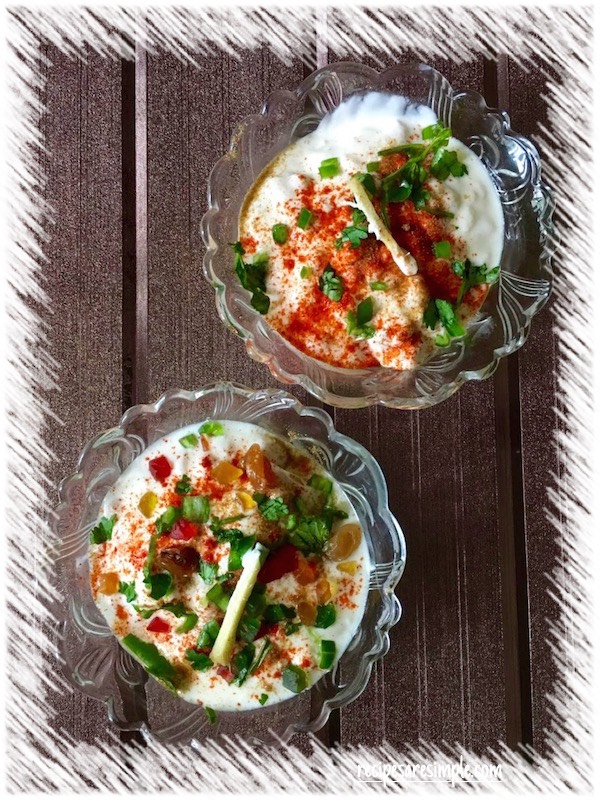
A cool and refreshing side or snack. Especially useful during Ramadan.
Vadas: These are deep-fried lentil fritters, typically made from a batter of urad dal (black gram) or sometimes a combination of urad dal and moong dal (green gram). They are light and spongy with a slightly crisp exterior.
Dahi/ Thayir: This is the thick, creamy, seasoned yogurt that the vadas are soaked in. It provides a tangy and cooling element to the dish. In the North of India, yoghurt is called ‘Dahi’, and in the South it is ‘Thayir’.
Dahi Vada or Thayir Vada is popular throughout India. It is often served with Tamarind Chutney or Green Chutney. The common spices that are used for seasoning the Yoghurt are Roasted Cumin powder, Chilli powder, Chaat Masala and Black Salt.
Dahi / Thayir VADA

® This is a RAS signature Recipe©
Total time includes the time for soaking the dal (3-4 hours).
More info on Dahi / Thayir VADAavailable on the Intro page ⇓.
|
♦Let me know if you tried – Dahi Vada/ Thayir Vada. Please comment below. ♦You can also – Mail me your pics and testimonials 🙂 – recipesaresimple@gmail.com ♦on SOCIAL MEDIA tag me @recipesaresimple and hashtag it #recipesaresimple on any platform. Thank you so much! ♥ |
♦Quick Browse to see All Recipes by Category. ♦World Cuisines to browse recipes by Regional Cuisine.
♥Thanks for visiting www.recipesaresimple.com

Dahi / Thayir VADA
Description
Dahi vada is a popular Indian street food, a cooling summer snack, and an Iftar item during Ramadan, that is a delightful blend of textures and flavors. It consists of lentil fritters (vadas) soaked in a creamy yogurt mixture (dahi/thayir) and then topped with various garnishes, chutneys and spices.
Ingredients:
For the 'Vadas':
For the Dahi / Thayir / Yoghurt
For Serving:
Instructions
-
Rinse the dal and soak for 3-4 hours.
-
Drain the soaked dal and add to blender. First, add only 1/4 cup fresh water and blend. Add just up to ¼ cup more water (as needed) to assist in friction-free grinding. The batter should be quite thick so don't add too much water.
-
Transfer the batter to a bowl. Add the sliced green chilli, asafoetida and salt. Stir to mix evenly.
-
Set aside the batter for a short while, for the flavours to 'set in'.
-
Heat oil for deep frying in a small wok or kadai. The oil should not be too hot, or the vadas will get golden before they cook on the inside.
-
You will need a cup or bowl to dip your fingers. Wet your fingers in this and scoop up a small amount of the batter. Make a hole in the centre of the batter, either with your thumb before slipping into the oil OR you can use a wooden chopstick to make a hole through the centre, as soon as the batter is dropped into the hot oil. This hole assures even cooking through the vadas. If you don't want to make the holes, that's ok too (Dahi Bhalla) but it's better to keep your vadas smaller, in this case. Also if you just want a back shape you can drop them in with a spoon and don't need to use your hands.
For the 'dahi' / 'thayir'/ yoghurt:
-
Add the thick yoghurt to another, large bowl and whisk till smooth. A little milk may be added to loosen slightly and reduce the sour tone.
-
Add cumin powder, salt and sugar to taste. Mix through.
Assemble:
-
While the vadas are still hot, put them all in a large bowl of water for a few minutes.
-
Remove each vada and press between your palms to gently squeeze out excess oil and soften a little.
-
Add the vadas to the serving dish, and add some chopped green chilli and fresh coriander.
-
Pour the yoghurt mix over the vadas to cover them completely.
-
Garnish the top with ginger julienne, more sliced green chilli and fresh coriander.
Note
- My friend tells me to add raisins to the batter. It makes the vada's even tastier with that element of surprise.
- I also sometimes soak the julienned ginger in sugar syrup the night before and this helps to balance the sour yoghurt too.
- If you have any tips and variations please let me know through the comments section.
- Key Ingredients: Urud dal, Yoghurt, Spices, Green Chilli, Coriander, Oil, Salt, Sugar, Milk, Aasafoetida, Boondi.


